There is a specific kind of magic found in the perfect thin and chewy chocolate chip cookies. It is the contrast between a center so soft it almost melts on the tongue and edges that shatter with a toasted, golden-brown crispness. When you pull these from the oven, the first thing you notice isn’t just the aroma; it is the visual architecture of rippled dough rings and glistening pools of dark chocolate.
These cookies aren’t your average bakery mound. They are sophisticated, flat, and geographically diverse in texture. By using a specific pan-banging technique, we create concentric ripples that trap flavor and create varying levels of caramelization across the surface.
Whether you are a fan of hearty bakery-style treats or prefer something more delicate, this recipe masters the science of the spread. We have meticulously designed this formula to ensure every bite delivers that elusive balance of buttery toffee notes and intense 70% dark chocolate.
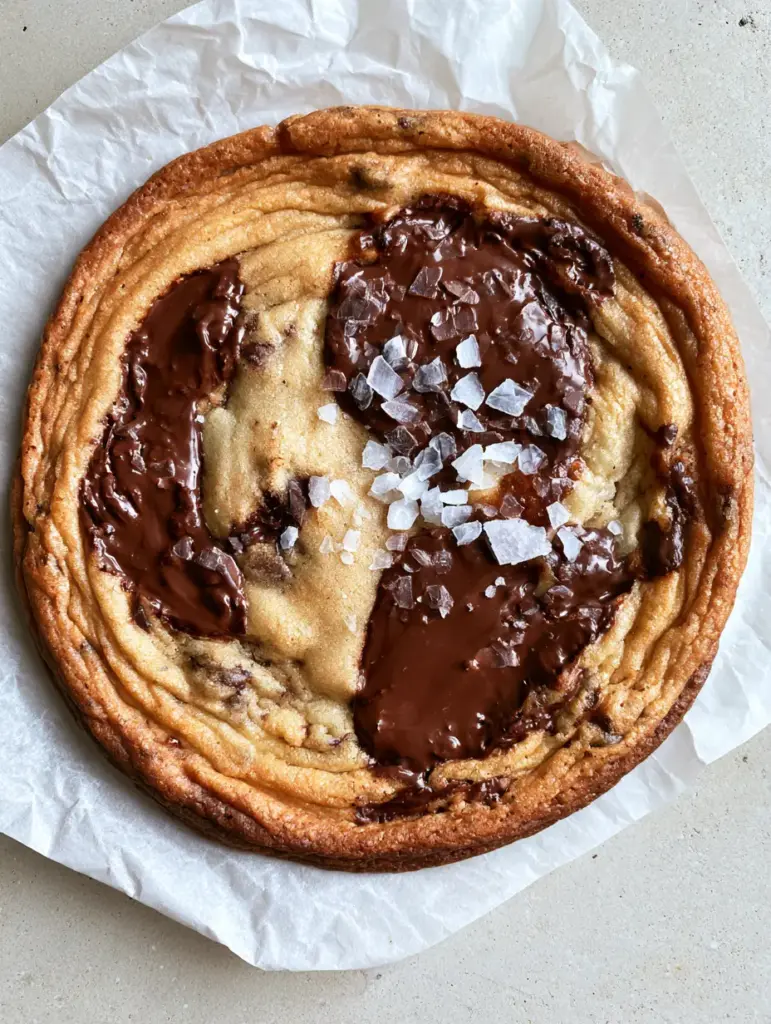
Why These Rippled Dark Chocolate Wonders Are the Ultimate Bake
- The Ripple Effect: Using a specialized baking method, we create physical “waves” in the dough, resulting in multiple textures within a single cookie.
- Pools, Not Pegs: By using chopped 70% dark chocolate bars instead of standard chips, we achieve fluid, glossy pools that marinate the dough in cocoa butter.
- Toasted Perimeter: The high surface area ensures the edges reach a deep, toasted golden-brown while the center remains pale and buttery.
- Salted Sophistication: A generous dusting of flaky Maldon sea salt cuts through the richness, highlighting the vanilla and brown sugar notes.
The Scientific Foundation of Thin and Chewy Chocolate Chip Cookies
To achieve the specific visual blueprint of these cookies, every ingredient must play a structural role. We aren’t just mixing dough; we are engineering a specific spread-and-collapse cycle that occurs within the heat of the oven.
Unsalted High-Fat Butter: 1 cup (226g) of softened butter provides the fat necessary for the cookie to spread. Using a high-fat European-style butter ensures the center stays buttery and soft even after the edges have crisped.
Granulated White Sugar: 1 ½ cups (300g) of white sugar is the secret to those toasted, crisp edges. White sugar is hygroscopic but also aids in crisping as it caramelizes at high temperatures.
Dark Brown Sugar: ¾ cup (150g) of packed dark brown sugar provides the “chew.” The molasses content keeps the dough moist and contributes to the deep, toffee-like color of the ripples.
All-Purpose Flour: 2 cups (250g) of flour provides just enough structure to hold the chocolate pools. We keep the flour count relatively low to encourage the “thin” profile of the thin and chewy chocolate chip cookies.
70% Dark Chocolate Bars: 8 oz (225g) of high-quality dark chocolate, roughly chopped. Avoid standard chips, as they contain stabilizers that prevent them from forming the glossy, fluid pools seen in our blueprint.
Large Egg & Vanilla: 1 egg plus 1 tbsp (15ml) of pure vanilla extract. The egg provides protein for the ripples to hold their shape, while the vanilla enhances the toasted sugar profile.
Baking Soda & Sea Salt: ½ tsp (3g) baking soda for browning and ½ tsp (3g) fine salt for the dough. The baking soda reacts with the acidic brown sugar to create the initial lift before the “bang” collapses it.
Maldon Flaky Sea Salt: 2 tbsp (10g) for finishing. These large, square crystals stay visible on top of the dark chocolate pools, providing a crucial visual and sensory contrast.
Essential Tools for the Perfect Ripple
Achieving this macro-shot-worthy result requires more than just a bowl and spoon. You will need a heavy-duty aluminum baking sheet, which conducts heat evenly to toast the edges without burning the bottom.
Crumpled white parchment paper is your best friend here. Not only does it prevent sticking, but the slight texture of the crumpled paper allows for air to circulate under the thin dough. You will also need a digital scale for precision, as a few extra grams of flour can turn a thin cookie into a cakey one.
If you enjoy experimenting with textures, you might also like our deeply fudgy brownie cookies or even our thick New York style treats. But for today, we focus on the art of the flat, rippled disc.
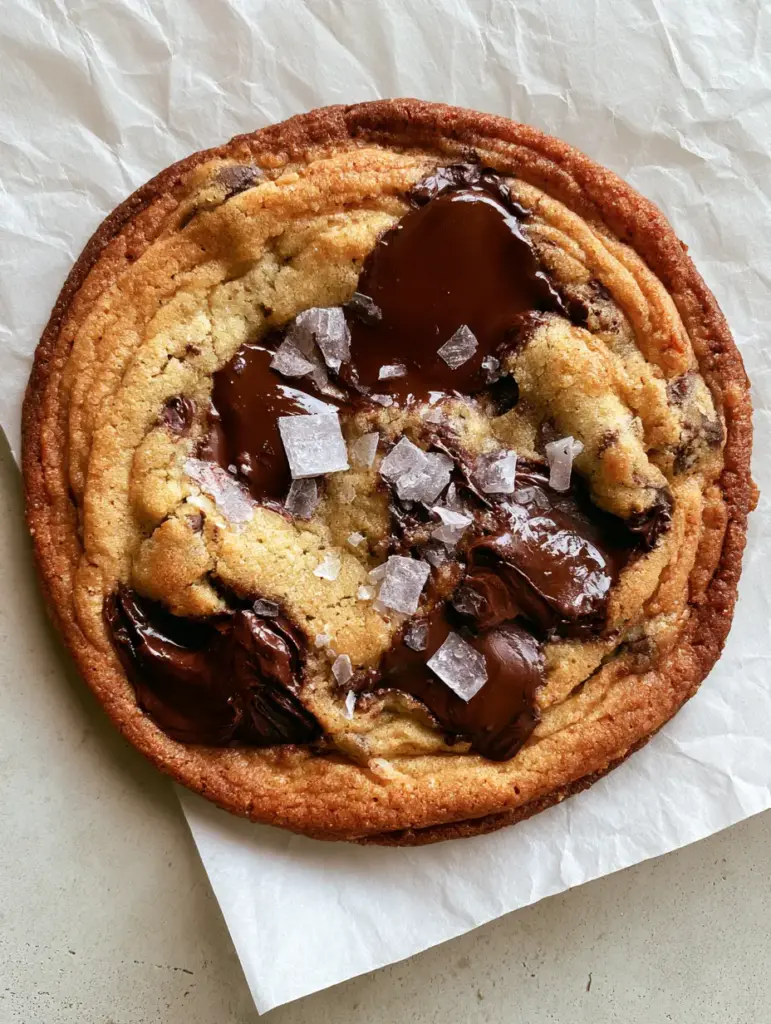
Step-by-Step Instructions to Mastering the Ripple
Creaming for Structure and Spread
In a large bowl or stand mixer, cream the 1 cup (226g) of softened butter with both the 1 ½ cups (300g) white sugar and ¾ cup (150g) dark brown sugar. Beat on medium-high for at least 3 minutes until the mixture looks pale and fluffy.
Add the egg and 1 tbsp (15ml) vanilla extract. Continue to beat until the mixture is fully emulsified; you should see no streaks of egg, and the batter should look slightly increased in volume.
Integrating the Dry Elements
Sift the 2 cups (250g) all-purpose flour, ½ tsp (3g) baking soda, and ½ tsp (3g) fine salt into the wet ingredients. Use a spatula to fold the dough by hand until just a few streaks of flour remain.
Fold in the 8 oz (225g) of chopped 70% dark chocolate. Ensure you include the “chocolate dust” from the chopping board, as this will streak the dough with beautiful cocoa veins.
The Chilling and Portioning Phase
Scoop large mounds of dough—about 3 tbsp (approx. 60g) each—onto a tray. For thin and chewy chocolate chip cookies to have that soft buttery center, the dough must be cold when it hits the hot oven. Chill the dough balls for at least 2 hours, or ideally overnight.
The Pan-Banging Technique (Visual Cue: Rippling)
Preheat your oven to 350°F (175°C). Line your baking sheet with crumpled white parchment paper. Place only 4 dough balls on a large sheet, as these will spread significantly.
Bake for 10 minutes until the cookies are puffed in the center and just starting to brown at the edges. Open the oven door and lift one side of the baking sheet about 4 inches, then let it drop (bang) against the oven rack. The puffed center will collapse, pushing the dough outward to form a ripple.
Repeat this banging every 2 minutes for the next 6-8 minutes of baking. You will see concentric, rippled rings forming. Stop when the edges are toasted and crisp, but the center is still pale and soft.
The Finishing Touch
Immediately upon removing from the oven, while the dark chocolate pools are still fluid and glossy, sprinkle a generous amount of Maldon flaky sea salt over each cookie. Let them cool on the pan for 10 minutes to allow the edges to set into their final toasted state.
Expert Tips for Bakery-Quality Results
- Quality of Chocolate: Use a bar of chocolate (like Guittard or Valrhona) rather than chips. The lack of stabilizers is what creates those “pools” of melted 70 percent dark chocolate.
- The Crumpled Paper: Crumpling the parchment paper isn’t just for the photo; it creates tiny air pockets that help the cookies release and contributes to the uneven, rustic bottom texture.
- Don’t Overbake: The center should look slightly underdone when you pull them out. The residual heat from the baking sheet will finish the cooking process while keeping the center buttery.
- Room Temp Ingredients: Ensure your egg is at room temperature so it emulsifies perfectly with the creamed butter and sugar, preventing a grainy dough.
Storage, Reheating, and Freezing
These cookies are best enjoyed within 24 hours to experience the maximum contrast between the crisp edge and soft center. Store them in an airtight container at room temperature for up to 3 days.
To recapture that “fresh from the oven” feel, reheat a cookie in the microwave for 10 seconds or in a 300°F (150°C) oven for 2 minutes until the chocolate pools become glossy again. You can also freeze the raw dough balls for up to 3 months; just add 2 minutes to the initial bake time before you start the pan-banging process.
Perfect Pairings for Your Thin and Chewy Chocolate Chip Cookies
While a glass of cold milk is the classic choice, these sophisticated cookies pair beautifully with a sharp espresso or a glass of tawny port. If you are planning a dessert spread, consider serving these alongside our rich cream cheese danish or perhaps some cookies and cream cupcakes for a variety of textures.
For those looking for a savory counterpoint to all this sugar, a tray of spinach and cheese muffins makes for a great afternoon snack balance.
Frequently Asked Questions
You can, but chips contain stabilizers that prevent them from melting into the glossy ‘pools’ seen in the photos. For the best visual and textural result, high-quality dark chocolate bars are recommended.
The key is timing. Sprinkle the Maldon flaky sea salt immediately after the cookies come out of the oven while the dark chocolate pools are still fluid and the dough is soft.
Banging the pan causes the puffed-up cookie to collapse. This pushes the dough outward, creating the characteristic ripples and ensuring the edges get crisp while the center remains thin and chewy.
This usually happens if the flour was measured by volume rather than weight, or if the oven temperature is too low. Ensure you use a digital scale and that your butter is properly softened, not melted.
Crumpling the parchment paper creates a non-uniform surface that helps in the creation of ripples and provides better air circulation, leading to more toasted edges.
The Ultimate Thin and Chewy Chocolate Chip Cookie Recipe
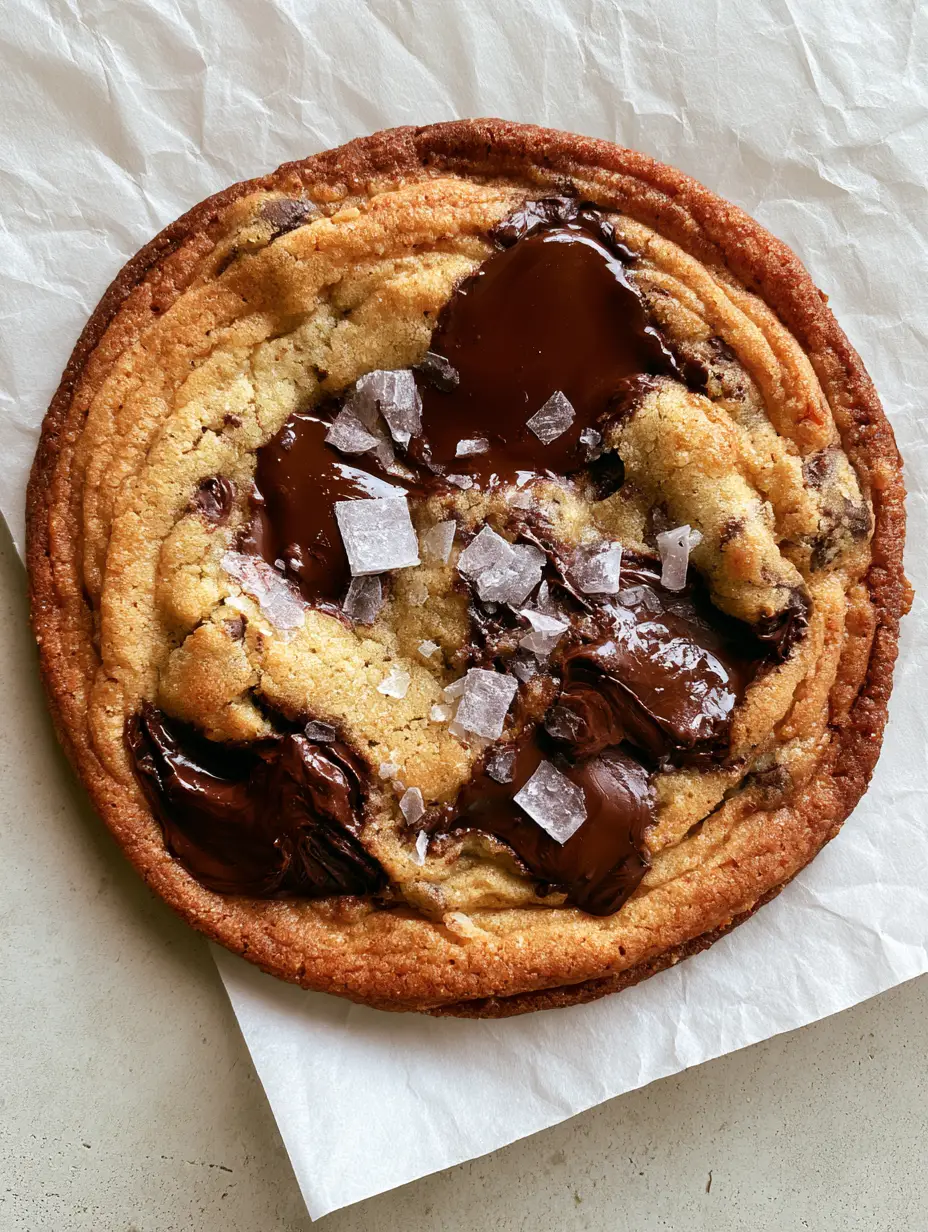
Thin and Chewy Chocolate Chip Cookies with Rippled Edges
Ingredients
Equipment
Method
- Cream butter and both sugars for 3-5 minutes until light and fluffy. Add egg and vanilla, beating until fully incorporated.
- Fold in dry ingredients and chopped chocolate until just combined. Chill dough balls for at least 2 hours.
- Place 4 dough balls on crumpled parchment. Bake at 350°F (175°C) for 10 minutes until puffed.
- Lift and drop the pan against the oven rack every 2 minutes for the remaining bake time to create ripples.
- Remove when edges are golden-brown. Immediately top with flaky sea salt while chocolate is glossy.
Notes
Crumpling the parchment paper prevents the cookies from spreading too perfectly, giving them a rustic rippled look.
Join the Flavorvale Community
We hope you enjoy the rhythmic process of banging pans and the visual reward of those rippled golden edges. There is nothing quite like the first bite of thin and chewy chocolate chip cookies when the salt hits the dark chocolate. If you made these, please leave a comment below and tell us how your ripples turned out!
Don’t forget to share your creations with us on Pinterest and follow for more visually stunning, scientifically-backed recipes. Happy baking!