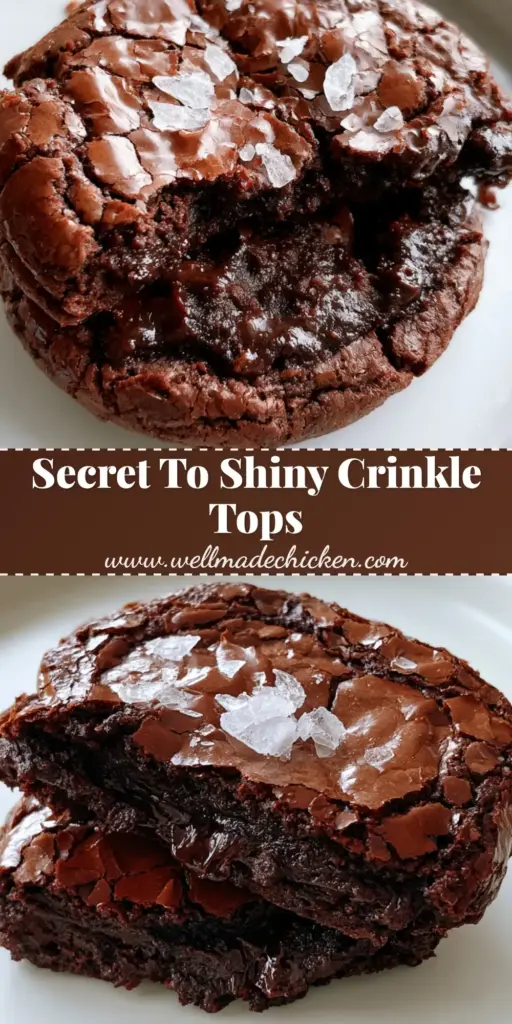
If you have ever found yourself torn between the chewy edges of a pan of brownies and the portable convenience of a cookie, these brownie cookies are the absolute answer to your culinary prayers. Imagine a cookie that defies the laws of physics—a thick, dense, ultra-moist dark chocolate center that stays gooey long after it leaves the oven. These are not just cookies; they are a textural masterpiece, designed to deliver that specific, warm, melty sensation with every single bite.
What sets these brownie cookies apart from a standard chocolate biscuit is the forensic attention to detail in the crust. We are aiming for an extremely glossy, paper-thin, deeply fractured crinkle crust with a rich mahogany-brown sheen that shatters when you break the cookie in half. To finish, exactly five delicate, translucent flakes of Maldon sea salt are scattered across the top, catching the daylight and providing the perfect savory counterpoint to the deep cocoa intensity. This recipe is the ultimate marriage of technique and high-quality ingredients.
The Science Behind the Perfect Fudgy Texture and Glossy Sheen
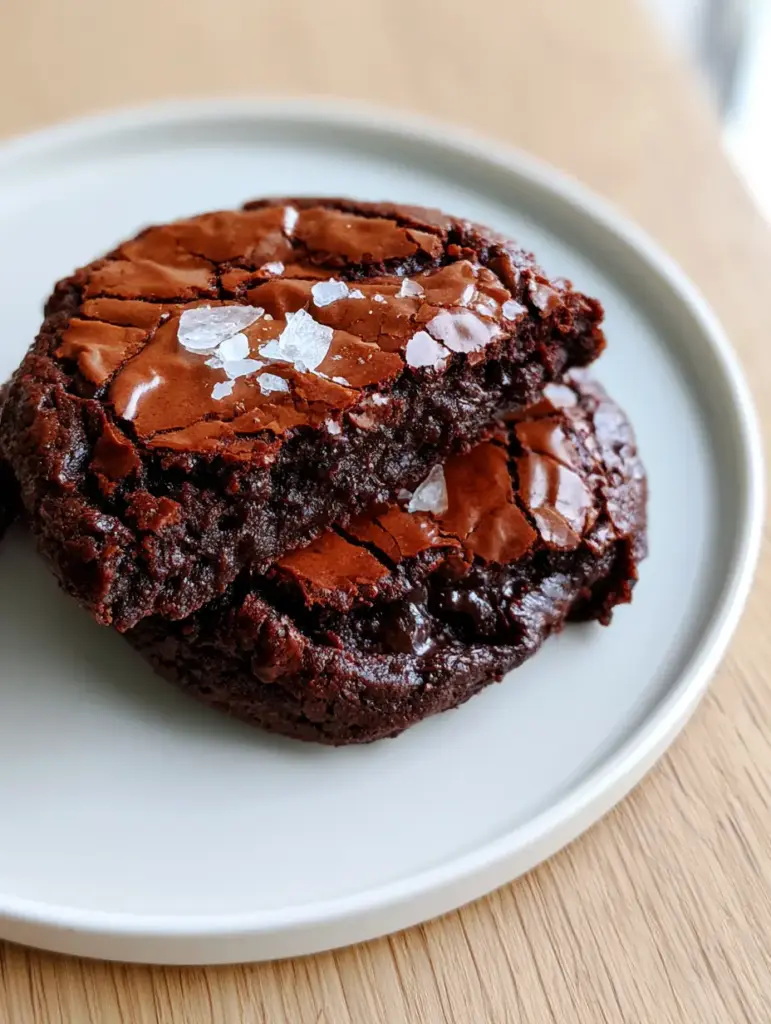
Achieving the visual result described in our blueprint requires more than just mixing ingredients; it requires an understanding of sugar chemistry and aeration. The glossy, tissue-paper-thin crust that characterizes world-class brownie cookies is actually a thin layer of meringue that forms on the surface during the baking process. By whipping the eggs and sugars together until they reach the “ribbon stage,” we create a stable structure that rises and then collapses slightly, creating those iconic fractures.
Furthermore, the “molten chocolate pockets” are achieved by using chopped chocolate bars rather than stabilized chocolate chips. Chocolate chips are designed to hold their shape under heat, whereas chopped high-quality bittersweet chocolate melts into the dough, creating pools of liquid gold. If you enjoy experimenting with different textures in your baking, you might also want to try our homemade chocolate chip cookies recipe which focuses on a more traditional buttery crumb.
Visual Cues and Key Texture Indicators
- The Fractured Crust: The surface should look like a mosaic of mahogany-brown glass, thin enough to see light reflecting off the ridges.
- The Molten Core: When broken in half, the interior should look like baked chocolate dough that is still slightly “unfixed” and gooey, rather than cake-like.
- The Salt Garnish: Five distinct flakes of Maldon sea salt should be visible, providing a translucent sparkle against the dark chocolate backdrop.
- The Sheen: A high-gloss finish indicates that the sugar has correctly migrated to the surface, creating that professional bakery look.
Essential Ingredients for Gourmet Chocolate Cookies
High-Quality Bittersweet Chocolate (70% Cacao)
You will need 8 oz (225g) of high-quality chocolate, split between melting into the dough and being chopped into chunks. The higher cacao percentage ensures a rich mahogany color and a deep, complex flavor profile that isn’t overly sweet.
Unsalted European-Style Butter
Using 1/2 cup (115g) of high-fat butter provides the necessary lipids to keep the center ultra-moist and creates a luxurious mouthfeel. The butter is melted with the chocolate to create the foundational fat base for the dough.
Large Room-Temperature Eggs
Two large eggs are the structural engine of this recipe, providing the protein needed for the rise and the lecithin for emulsification. Using room-temperature eggs allows them to whip to a higher volume, which is critical for that crinkle top.
Granulated Sugar and Light Brown Sugar
We use 3/4 cup (150g) of granulated sugar and 1/4 cup (50g) of packed brown sugar. The granulated sugar is essential for the crust, while the molasses in the brown sugar contributes to the dense, fudgy interior.
Dutch-Processed Cocoa Powder
A 1/4 cup (25g) addition of Dutch-processed cocoa intensifies the dark chocolate color and provides a smooth, earthy base flavor. This helps achieve the “dark chocolate center” requested in the visual blueprint.
All-Purpose Flour
We use a relatively small amount—just 1 cup (125g)—to ensure the cookies remain more fudgy than cakey. Too much flour would dry out the center and prevent the molten pockets from forming.
Maldon Sea Salt Flakes
These are the crowning glory of the cookie, providing a clean, salty crunch. Each cookie should be garnished with exactly five flakes to match the aesthetic of a professional, handheld smartphone photo.
Foundational “Invisible” Ingredients
While not the stars of the show, these ingredients are scientifically required for success. You will need 1/2 tsp (3g) of espresso powder to enhance the chocolate’s depth and 1/2 tsp (2g) of baking powder to provide just enough lift to crack the surface. Do not forget 1/2 tsp (3g) of fine sea salt within the dough to balance the sugars, even though we are topping with Maldon flakes.
Professional Equipment for Precision Baking
To achieve the “ribbon stage” necessary for the crust, a stand mixer fitted with a whisk attachment is highly recommended. You will also need a heavy-bottomed saucepan or a double boiler to gently melt the chocolate and butter without scorching. A digital kitchen scale is the best way to ensure your Imperial (Metric) measurements are precise. Finally, use a parchment-lined baking sheet to ensure the cookies don’t stick and the bottoms don’t over-brown on a matte-white ceramic plate during serving.
Step-by-Step Instructions to Achieve Brownie Cookie Perfection
Melting the Chocolate Foundation
Start by combining 4 oz (115g) of the bittersweet chocolate and the 1/2 cup (115g) of butter in a heat-proof bowl. Place the bowl over a pot of simmering water (a double boiler) and stir until the mixture is completely smooth and glossy. Once melted, remove from heat and stir in the espresso powder, allowing the mixture to cool slightly while you prepare the eggs. This cooling period is vital; if the chocolate is too hot, it will cook the eggs prematurely.
Whipping to the Ribbon Stage
In the bowl of your stand mixer, combine the two large eggs, the 3/4 cup (150g) of granulated sugar, and the 1/4 cup (50g) of brown sugar. Turn the mixer to medium-high and whip for a full 5 to 7 minutes. You are looking for a visual cue: the mixture should be pale, thick, and fall off the whisk in a slow, steady “ribbon” that holds its shape for a few seconds on the surface. This aeration is what creates the glossy, fractured crust.
Combining the Wet and Dry Components
Reduce the mixer speed to low and slowly pour in the slightly cooled chocolate and butter mixture. Once combined, stop the mixer and sift in the 1 cup (125g) of flour, 1/4 cup (25g) of cocoa powder, and 1/2 tsp (2g) of baking powder. Use a rubber spatula to gently fold the ingredients together by hand. This prevents over-mixing, which would lead to a tough, bready texture rather than the “dense, ultra-moist” center we desire. Fold in the remaining 4 oz (115g) of chopped chocolate chunks to create those molten pockets.
Scooping and the First Visual Check
Using a large cookie scoop, portion the dough into 2-tablespoon (approx. 45g) rounds onto your prepared baking sheet. The dough will be thinner than traditional cookie dough—more like a thick brownie batter. Space them at least 3 inches apart, as they will spread. If you like large, indulgent treats, these are similar in scale to our NYC-style cookies, though significantly more fudgy.
Baking for the Perfect Crinkle
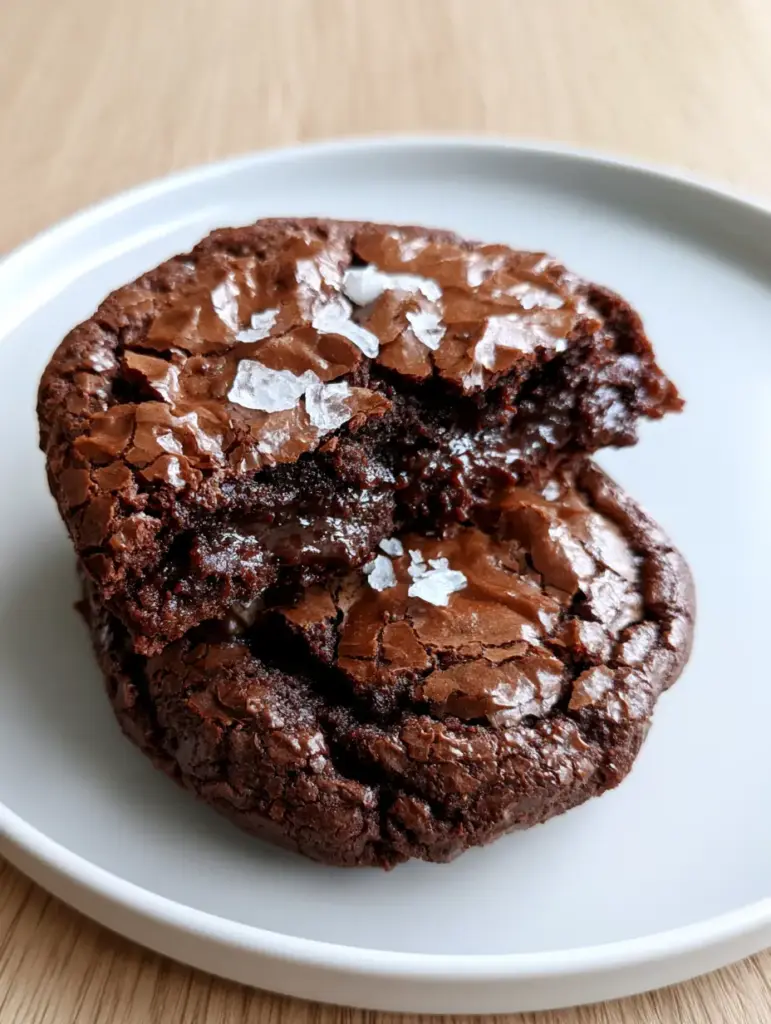
Bake in a preheated oven at 350°F (175°C) for exactly 10-12 minutes. Watch for the visual cue: the edges should be set, but the center should still look slightly soft and underdone. As they cool, the top will sink slightly, causing the “extremely glossy, paper-thin crust” to fracture into a beautiful mahogany mosaic. Immediately upon removing them from the oven, place exactly five flakes of Maldon sea salt on each cookie while the surface is still slightly tacky.
Expert Tips for Success
- Don’t Skip the Whipping: If you whip the eggs for only 2 minutes, you will get a tasty cookie, but you will not get the glossy crinkle crust. Five minutes is the minimum for that professional sheen.
- Use a Bar, Not Chips: For those true “molten chocolate pockets,” chop up a high-quality chocolate bar. The irregular sizes allow some chocolate to melt into the dough while others remain as gooey pools.
- The Tap Method: If your cookies aren’t cracking enough, gently tap the baking sheet on the oven rack halfway through baking to encourage the surface to shatter.
- Temperature Matters: Ensure your butter and chocolate mixture isn’t boiling hot when added to the eggs, or you will lose the air you worked so hard to whip in.
Storage, Reheating, and Freezing
These brownie cookies are best enjoyed fresh and warm to appreciate the molten pockets. However, they can be stored in an airtight container at room temperature for up to 3 days. To revive the gooey center, microwave a cookie for 10-15 seconds before serving. You can also freeze the baked cookies for up to 2 months; just thaw at room temperature and briefly warm them up. For a different flavor profile that stores equally well, try our Almond Joy cookies.
What to Serve With Brownie Cookies
These decadent cookies are extremely rich, so they pair perfectly with a cold glass of whole milk or a bitter espresso. If you are hosting a dessert party, they look stunning next to a plate of cookies and cream cupcakes. For those who prefer a fruitier finish to their meal, consider serving them alongside a refreshing bowl of banana pudding overnight oats for a contrasting texture the next morning.
Frequently Asked Questions
You can, but chocolate chips contain stabilizers that prevent them from melting into the dough. For the visual ‘molten pockets,’ high-quality chopped chocolate bars are much more effective.
While any salt works for flavor, Maldon flakes are specifically used for their translucent, flat crystalline structure which provides a unique crunch and visual appeal.
The sheen comes from the migration of sugar to the surface. Using a mix of granulated and brown sugar, combined with high-cacao chocolate, creates that deep, reflective mahogany color.
The crinkle top is created by whipping the eggs and sugar long enough to dissolve the sugar and create a meringue-like layer. Ensure you whip them for at least 5-7 minutes until they reach the ribbon stage.
Brownie cookie dough is naturally closer to a thick batter. This high moisture and sugar content is what creates the fudgy, brownie-like texture rather than a crumbly biscuit.
The Ultimate Brownie Cookie Recipe
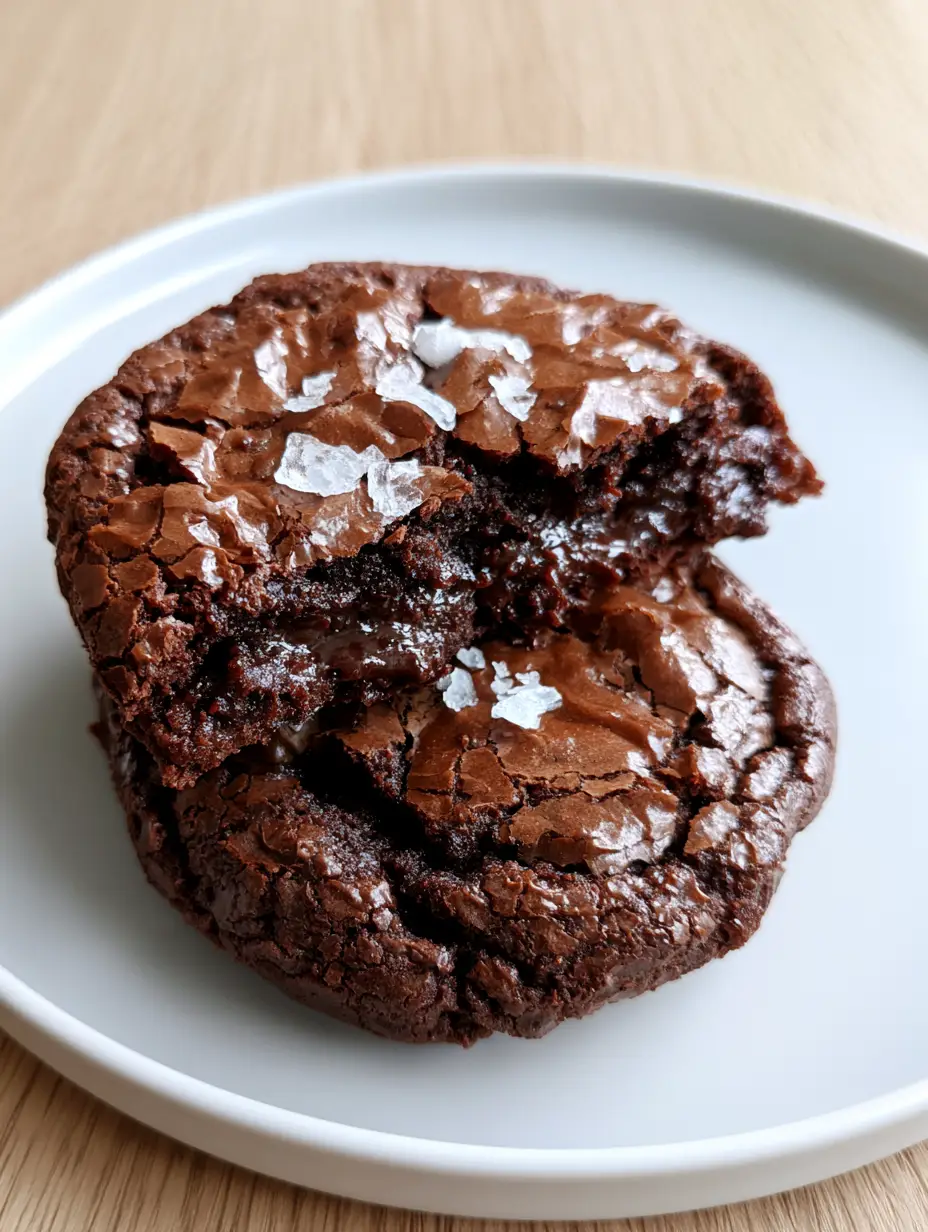
Brownie Cookies with a Glossy Crinkle Crust and Molten Chocolate Pockets
Ingredients
Equipment
Method
- Melt 4oz (115g) of chocolate and 1/2 cup (115g) of butter using a double boiler until smooth and glossy. Stir in espresso powder and set aside to cool slightly.
- In a stand mixer, whip eggs and both sugars on medium-high for 5-7 minutes until the ribbon stage is reached (thick, pale, and holds a shape).
- Slowly pour the chocolate mixture into the egg mixture while the mixer is on low. Sift in flour, cocoa powder, and baking powder. Gently fold by hand, then fold in remaining chopped chocolate.
- Scoop 2-tablespoon portions onto parchment-lined sheets. Bake at 350°F (175°C) for 10-12 minutes until edges are set but centers are gooey.
- Immediately sprinkle exactly five flakes of Maldon sea salt on each cookie while warm to ensure they stick to the glossy crust.
Notes
Chop your own chocolate instead of using chips for better molten pockets.
Closing & Call to Action
Mastering the brownie cookies technique is a milestone for any home baker. The contrast between the shattered, mahogany crust and the molten, gooey interior is a sensory experience that few other desserts can match. We would love to see your results! Did you get the perfect five flakes of salt? Let us know in the comments below or share your photos on Pinterest to inspire other bakers in our community. Don’t forget to sign up for our newsletter for more deep-dives into the science of baking!