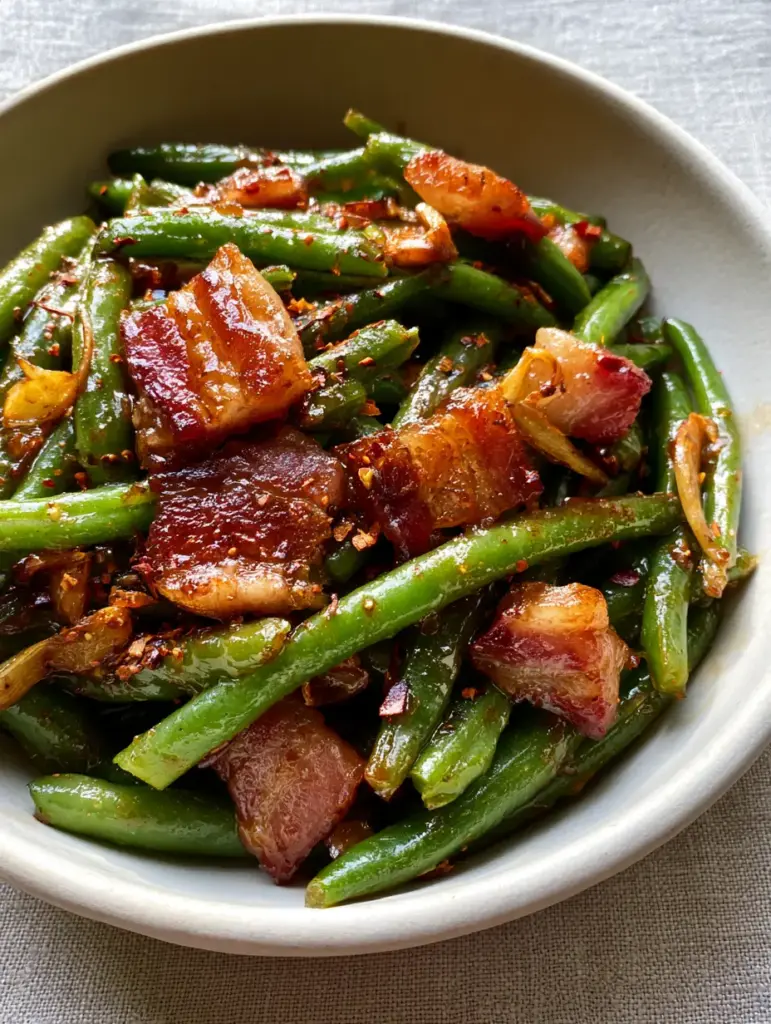
Crack green beans are the ultimate side dish that will transform how you think about vegetables forever. If you have been searching for a way to make green beans the star of the show, this recipe delivers a shimmering amber-colored brown sugar glaze and thick-cut crispy smoked bacon that creates a flavor profile that is truly addictive. Every bite offers a perfect balance of salty, sweet, and savory notes that will have everyone reaching for seconds.
This dish isn’t just a side; it’s a culinary experience. The glossy brown sugar glaze clings to each tender-crisp green bean, while the minced golden garlic and red pepper flakes provide a sophisticated depth of flavor. Whether you are preparing a holiday feast or a simple weeknight dinner, these crack green beans are guaranteed to be the most requested item on the table.
Why These Addictive Green Beans Work
- Perfect Texture Contrast: The combination of snap-fresh beans and large, irregular chunks of thick-cut crispy smoked bacon provides an incredible mouthfeel.
- The “Crack” Glaze: A glossy brown sugar glaze creates a syrupy, savory coating that highlights the natural sweetness of the beans.
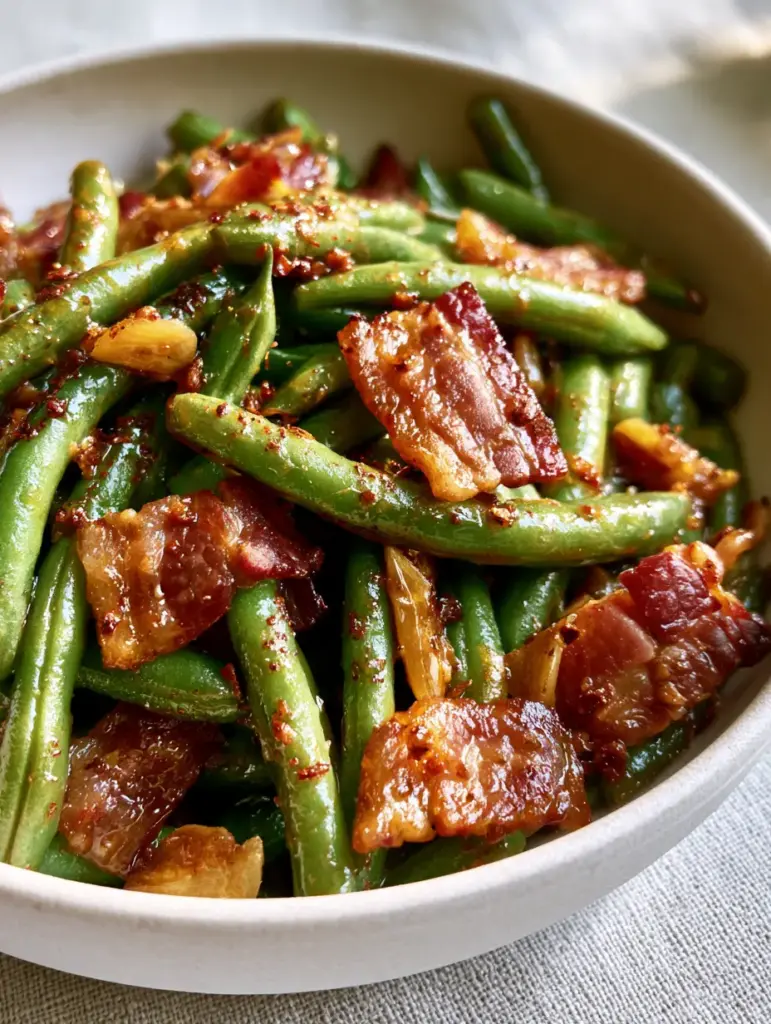
- Balanced Heat: A light dusting of red pepper flakes cuts through the richness of the rendered bacon fat sheen.
- Aromatic Depth: Sautéed golden garlic slivers add a nutty, buttery finish that ties the whole dish together.
The Essential Components for Flavor Perfection
To achieve the visual recipe blueprint of this dish, high-quality ingredients are non-negotiable. Each element plays a specific role in creating the final high-angle macro shot worthy appearance.
1 lb (454g) Fresh Green Beans: You want beans that are vibrant and snappy. Avoid canned varieties for this recipe as they won’t hold up to the sautéing process.
6 slices (approx. 225g) Thick-Cut Smoked Bacon: The rendered bacon fat is the foundational flavor of this dish. Thick-cut slices ensure you get those crispy bacon chunks rather than thin bits that disappear.
3 tbsp (45g) Salted Butter: When combined with the bacon fat sheen, butter adds a velvety finish to the glaze.
1/3 cup (65g) Light Brown Sugar: This is the secret to the shimmering amber-colored glaze. It caramelizes beautifully around the beans.
4 cloves Garlic, minced: These should be sautéed until they become minced golden garlic, providing a mellow sweetness rather than a sharp bite.
1/2 tsp (1g) Red Pepper Flakes: Just enough to provide a tiny spark of heat to balance the sugar.
1/2 tsp (1g) Coarsely Cracked Black Pepper: Essential for cutting through the richness of the rendered fat edges.
If you love savory comfort food like this, you might also enjoy our bacon egg and cheese breakfast casserole for your next brunch.
Mastering the Sauté: The Step-by-Step Method
Preparing the Bacon Base
Start by chopping your thick-cut smoked bacon into 1-inch (2.5cm) pieces. In a large skillet over medium heat, fry the bacon until it reaches a crispy, deep mahogany color.
Use a slotted spoon to remove the crispy bacon chunks and set them aside on a paper towel. CRITICAL STEP: Do not discard the fat! Leave approximately 2 tablespoons (30ml) of the rendered bacon fat in the pan. This fat contains all the smoky essence needed for the beans.
Sautéing the Aromatic Garlic
Turn the heat down to medium-low. Add your minced garlic to the skillet with the rendered bacon fat. Stir constantly for about 1-2 minutes until you see the garlic transform into minced golden garlic.
Be careful not to let it brown too far into a dark brown color, as this will turn bitter. The goal is a nutty, golden hue that will eventually speckle the tender-crisp green beans.
Glazing the Green Beans
Increase the heat to medium. Add the trimmed fresh green beans to the pan. Toss them vigorously to coat every single bean in the rendered bacon fat sheen. Add 1/4 cup (60ml) of water and cover for 3 minutes to steam them to a tender-crisp texture.
Once the water has evaporated, sprinkle the light brown sugar and cracked black pepper over the beans. Stir continuously as the sugar melts into a thick, shimmering amber-colored glaze.
For a complete meal, these beans pair excellently with a hearty beef stew or a bowl of cabbage roll soup.
The Final Finish
Add the crispy thick-cut bacon chunks back into the skillet. Toss one final time so the syrupy glaze binds the bacon to the beans. Sprinkle the red pepper flakes over the top for that final pop of color and flavor.
Transfer the heap of beans to a rustic, minimalist matte white ceramic bowl. The specular highlights from the glaze will make this dish look just like the high-quality handheld smartphone food photography seen on Pinterest.
Expert Tips for the Ultimate Crack Green Beans
- Don’t Overcook: The beans should remain “tender-crisp.” They should have a slight snap when bitten, not be mushy.
- Control the Glaze: If the glossy brown sugar glaze becomes too thick or sticky, add a teaspoon of water to loosen it back to a shimmering consistency.
- The Fat Ratio: If your bacon is leaner, add a tablespoon of olive oil or butter to ensure there is enough rendered fat sheen to coat the beans.
- Fresh is Best: While frozen beans can work in a pinch, fresh beans provide the visual recipe blueprint textures that make this dish famous.
If you’re looking for other easy vegetable sides, check out our potato stacks or stuffed butternut squash.
Storage and Reheating Instructions
Storage: Place leftovers in an airtight container in the refrigerator for up to 3 days. The brown sugar glaze will thicken further when cold.
Reheating: For best results, reheat in a skillet over medium heat with a splash of water. This helps the glossy glaze liquefy again and keeps the thick-cut bacon from getting rubbery. Avoid the microwave if possible, as it can make the beans limp.
Freezing: We do not recommend freezing this dish, as the texture of the tender-crisp green beans and the shimmering amber glaze will degrade upon thawing.
Frequently Asked Questions
They have a very mild kick from the red pepper flakes. The heat is primarily there to balance the sweetness of the brown sugar, but you can omit them if you prefer no spice at all.
Yes, you can cook the bacon and trim the beans ahead of time. However, for the best visual appeal and texture, we recommend doing the final glazing and sautéing just before serving.
It is not recommended. Canned green beans are already soft and will turn to mush during the glazing process. Fresh or high-quality frozen beans are best for a tender-crisp result.
The secret to the shimmering glaze is the combination of rendered bacon fat and melted brown sugar. Ensure the sugar is fully dissolved and slightly caramelized to achieve that glossy, amber look.
They are nicknamed ‘crack’ green beans because the combination of salty bacon, sweet brown sugar glaze, and savory garlic is incredibly addictive, making it hard to stop eating them.
The Official Flavorvale Crack Green Beans Recipe
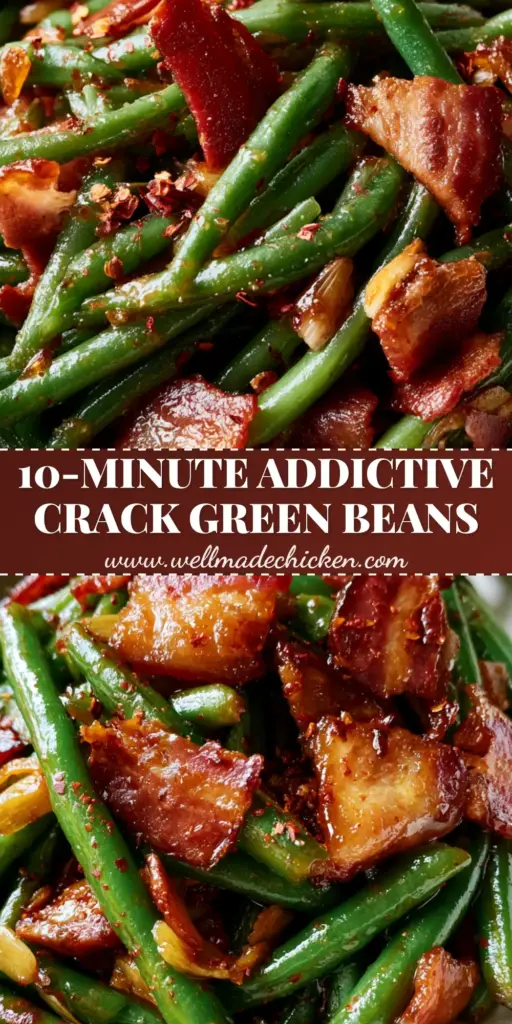
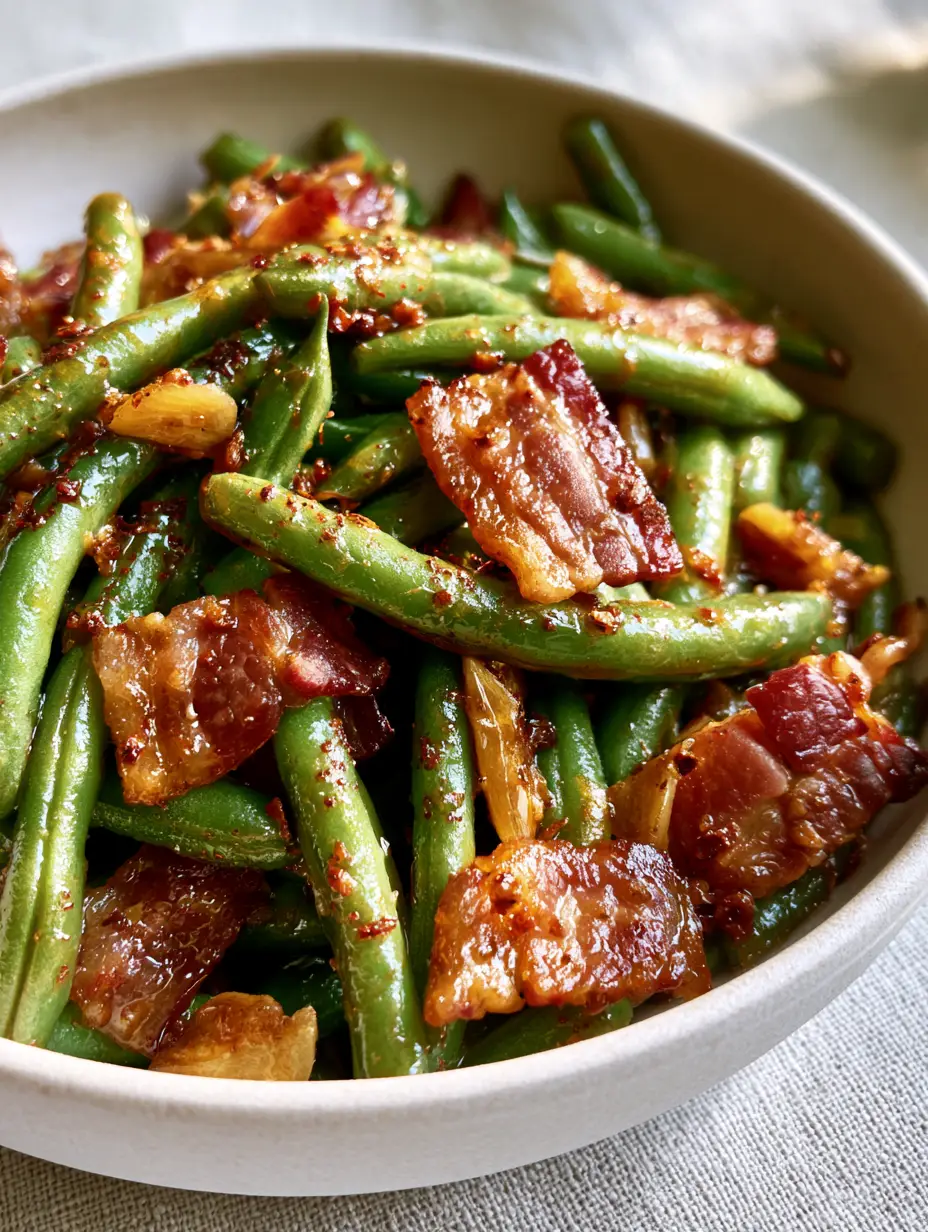
Crack Green Beans with Crispy Bacon and Brown Sugar Glaze
Ingredients
Equipment
Method
- Add chopped thick-cut bacon to a large skillet over medium heat. Fry until crispy and fat is rendered. Remove bacon chunks with a slotted spoon and drain on paper towels, leaving 2 tbsp of fat in the pan.
- Add minced garlic to the bacon fat and sauté for 1-2 minutes until golden and fragrant.
- Add green beans and a splash of water. Cover and steam for 3-4 minutes until tender-crisp. Remove lid and cook until water evaporates.
- Add butter and brown sugar to the pan. Stir constantly as the sugar melts into a glossy, shimmering amber glaze coating the beans.
- Stir in the crispy bacon, red pepper flakes, and cracked black pepper. Serve immediately in a matte white bowl.
Notes
If the glaze gets too thick, add a teaspoon of hot water to thin it out.
Join the Flavorvale Community!
Did these crack green beans disappear from your table in seconds? We want to see your results! Please save this recipe to your Pinterest boards so you never lose it. Follow @flavorvale_official for more addictive side dishes and dinner inspiration.
If you made this, please leave a 5-star rating in the recipe card above and upload a photo of your dish in the comments below. Your feedback helps our community grow and helps other home cooks find their new favorite recipes!