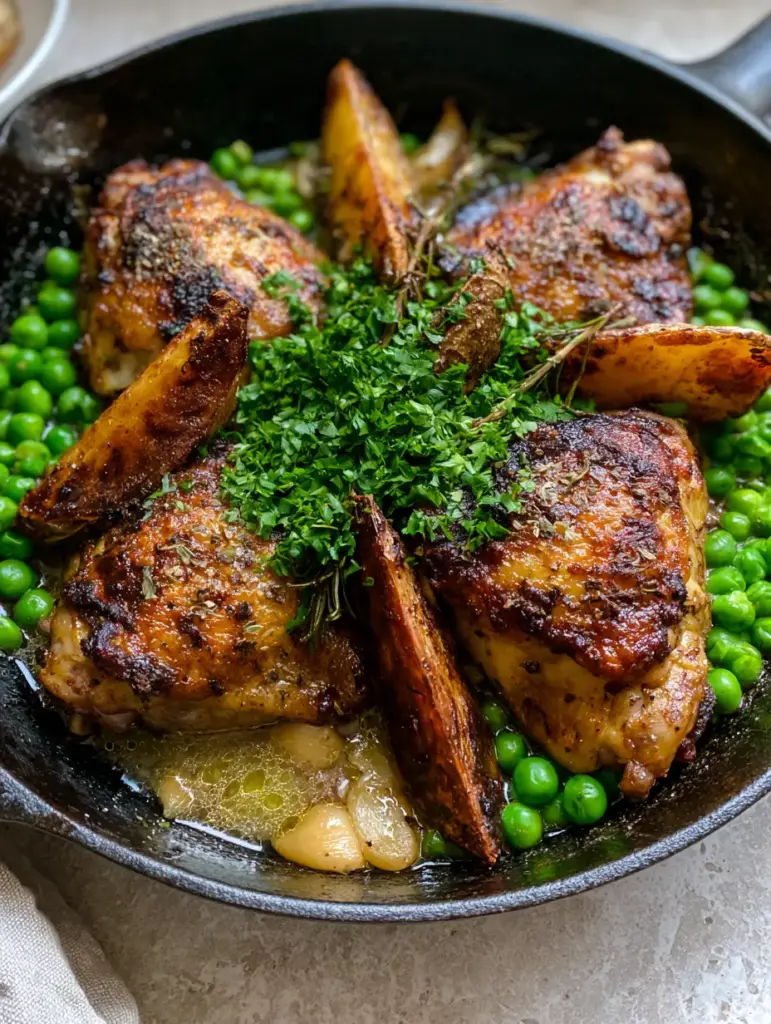
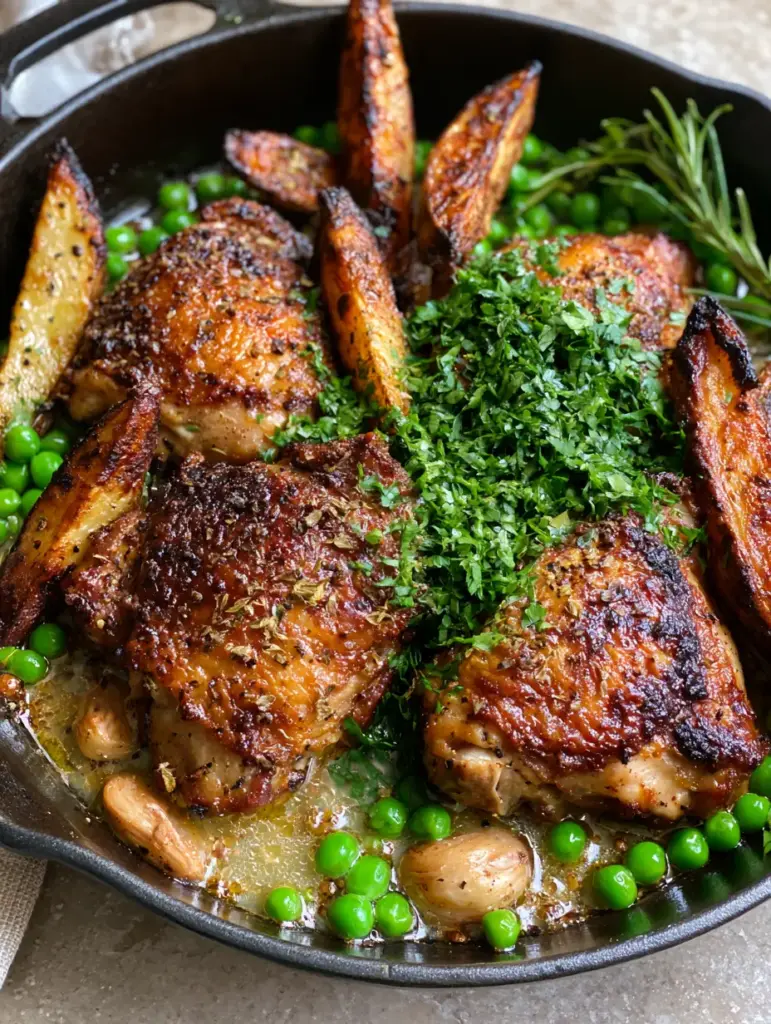
There is a specific, Pavlovian response that occurs when a rustic, matte black cast iron skillet hits the table, sizzling with the aromatic promise of garlic, white wine, and dried oregano. This is the legendary Chicken Vesuvio, a Chicago steakhouse staple that has defined “comfort food” for generations. If you have been searching for a recipe that delivers exceptionally crispy, dark golden-brown blistered skin and deeply browned potato wedges with charred edges, you have arrived at your destination.
The beauty of this dish lies in its textural contrasts. Imagine biting through a crackling, herb-crusted chicken skin into juicy meat, followed by a forkful of a potato wedge that is creamy on the inside but boasts a rugged, fire-kissed exterior. All of this is bathed in a glossy white wine butter sauce, punctuated by the sweetness of softened whole garlic cloves and the pop of vibrant, emerald green peas. This isn’t just a meal; it’s a culinary event that brings the high-end steakhouse experience directly to your kitchen counter.
Our version of Chicken Vesuvio stays true to the Windy City roots while utilizing modern techniques to ensure your potatoes never turn mushy and your chicken skin remains shatteringly crisp. By using a 45-degree angle of heat distribution in a cast iron skillet, we achieve that high-relief texture and appetizing highlight seen in the finest restaurant presentations. Let’s dive into the science of the sear and the soul of the sauce.
The Culinary Signature: Why This Chicken Vesuvio Recipe Works
- Shatter-Crisp Skin: We use a high-heat searing method to create dark golden-brown blistered skin that stands up to the braising liquid.
- Architectural Potatoes: By cutting thick wedges and roasting them upright, we maximize surface area for those coveted charred edges.
- The Emulsified “Vesuvio” Sauce: A shimmering, translucent blend of dry white wine and cold butter creates a glossy finish that coats every ingredient without being greasy.
- Aromatic Depth: The combination of visible flakes of dried oregano, cracked black pepper, and fresh rosemary sprigs provides a multi-layered sensory experience.
- Vibrant Finishes: Plump, bright green peas and a heavy sprinkle of fresh parsley provide the necessary acid and freshness to balance the rich fats.
The Essential Components for an Authentic Skillet Experience
To achieve the visual and flavorful heights of a true Chicken Vesuvio, every ingredient must serve a structural and gustatory purpose. Here is what you will need to gather for your masterpiece.
4 Bone-In, Skin-On Chicken Thighs (approx. 1.5 lbs / 680g): Thighs are the superior choice here as they remain succulent during the roasting process and provide the necessary fat to flavor the potatoes. Ensure they are patted bone-dry before seasoning to achieve that blistered skin texture.
3 Large Russet Potatoes (approx. 1 lb / 450g): Russets are high in starch, which is essential for achieving those deeply browned and charred edges. Peel them and cut into thick, uniform wedges to ensure they stand upright in the pan.
10-12 Whole Garlic Cloves (60g): Do not mince these; we want whole cloves that soften and caramelize into “garlic butter” nuggets that can be spread onto the chicken or potatoes. They should be translucent and buttery by the time the dish is finished.
1/2 cup (120ml) Dry White Wine: Reach for a Pinot Grigio or Sauvignon Blanc. The acidity is crucial for deglazing the pan and cutting through the richness of the chicken fat and butter.
1/2 cup (120ml) Chicken Stock: This provides the savory backbone for our sauce, ensuring it has enough body to coat the back of a spoon.
2 tbsp (30g) Unsalted Butter: Cold butter is whisked in at the end to “mount” the sauce (beurre monté), giving it that glossy, shimmering appearance seen in professional food photography.
The Herb Trio: You will need 1 tbsp (4g) dried oregano for the earthy, classic Chicago flavor, 3-4 fresh rosemary sprigs for piney aromatics, and a 1/2 cup (15g) of fresh, bright green finely chopped parsley for the final garnish.
Foundational Seasonings: High-quality vegetable oil for the initial high-heat sear, kosher salt, and plenty of cracked black pepper to create those visible seasoning flakes on the skin.
1 cup (150g) Frozen or Fresh Peas: These are added at the very end to maintain their plump, emerald green color and “pop” texture. If you enjoy bright, fresh components in your poultry dishes, you might also love our refreshing cucumber onion and tomato salad as a side.
Must-Have Equipment for the Perfect Sear
Achieving the specific “high-relief” texture described in our visual blueprint requires the right tools. While a stainless steel pan works, nothing beats a 12-inch rustic matte black cast iron skillet for heat retention and distribution.
The heavy bottom of the cast iron ensures that once the chicken and potatoes hit the surface, the temperature doesn’t drop, allowing for immediate Maillard reaction (browning). You will also need a pair of sturdy kitchen tongs to flip the chicken without tearing the skin and a digital meat thermometer to ensure the chicken reaches an internal temperature of 165°F (74°C).
Mastering the Sear: A Step-by-Step Guide to Perfection
Phase 1: Prepping for Maximum Texture
Preheat your oven to 425°F (220°C). This high temperature is non-negotiable for achieving the charred potato edges. Pat the chicken thighs with paper towels until they are completely dry to the touch. Season the skin side aggressively with kosher salt, cracked black pepper, and half of the dried oregano. This creates the “grit” necessary for the oil to grip and blister the skin.
Phase 2: The Art of the Golden-Brown Blister
Heat 2 tablespoons of oil in your cast iron skillet over medium-high heat until it begins to shimmer. Place the chicken thighs skin-side down. Listen for a loud, aggressive sizzle. Do not move them for at least 6-8 minutes. You are looking for the skin to transform into an exceptionally crispy, dark golden-brown masterpiece. Once the skin is blistered and releases easily from the pan, flip them for 2 minutes to sear the bottom, then remove to a side plate.
Phase 3: Roasting the Architectural Potatoes
In the same fat-rendered skillet, add your potato wedges. Stand them upright on their thickest side. This allows the heat to circulate around the “peaks” of the wedges, creating those deeply browned and charred edges. Toss in the whole garlic cloves. Sear the potatoes on the stovetop for 5 minutes, then nestle the chicken thighs back into the pan between the potatoes. Scatter the fresh rosemary sprigs and the remaining oregano over the top.
Phase 4: The Oven Finish and Deglazing
Slide the entire skillet into the oven for 20-25 minutes. You will know it is ready when the potatoes are fork-tender and the chicken skin looks like crackling. Carefully remove the skillet (the handle is hot!) and place it back on the stove. Move the chicken and potatoes to a warm platter, leaving the garlic and juices in the pan. Pour in the white wine, scraping up the brown bits (fond) with a wooden spoon. This is where the flavor lives!
Phase 5: Mounting the Glossy White Wine Butter Sauce
Add the chicken stock and simmer until the liquid reduces by half. Turn the heat to low and whisk in the cold butter one tablespoon at a time. The sauce will transform from a thin liquid into a shimmering, translucent glaze. Stir in the plump green peas just until they are heated through—this should only take 60 seconds to preserve their vibrant color.
Expert Tips for Success
- The “No-Crowd” Rule: Use a skillet large enough to keep space between the chicken and potatoes. If they are touching too closely, they will steam rather than sear, ruining the blistered skin effect.
- Cold Butter is Key: Always use cold butter when finishing the sauce. The cold temperature allows the fat to emulsify slowly into the wine and stock, creating a glossy, thick texture instead of an oily mess.
- Potato Selection: If you can’t find Russets, Yukon Golds are a great substitute, though they will be slightly creamier and less charred on the edges. If you’re looking for more potato-inspired pairings, check out our honey glazed chicken which pairs beautifully with roasted roots.
- Garlic Protection: If the garlic cloves start to brown too quickly in the oven, tuck them slightly under a potato wedge or a piece of chicken.
Storage, Reheating, and Make-Ahead Advice
Chicken Vesuvio is best served immediately to enjoy the contrast between the hot, crispy skin and the cool, fresh parsley garnish. However, if you have leftovers, store them in an airtight container in the refrigerator for up to 3 days.
To reheat and preserve the texture, avoid the microwave. Place the chicken and potatoes back into a skillet or an oven-safe dish and heat at 375°F (190°C) until the skin crisps back up. If the sauce has thickened too much in the fridge, add a splash of chicken stock or water during the reheating process to loosen it back into a glossy state.
Perfect Pairings: What to Serve With Chicken Vesuvio
Because this dish already includes starch (potatoes) and vegetables (peas), it is a complete one-pan meal. However, a light, acidic side can help cut through the richness of the butter sauce. A vinegar-based cucumber salad provides a refreshing crunch that cleanses the palate between bites of savory chicken.
For those who love a mushroom element, serving this alongside savory ranch-seasoned mushrooms adds an extra layer of umami. If you are planning a larger spread, consider adding some roasted cauliflower steaks to the table for a hearty vegetable option.
Frequently Asked Questions
Yes, you can substitute the white wine with more chicken stock and a tablespoon of fresh lemon juice or white wine vinegar to provide the necessary acidity to the sauce.
While you can, chicken breasts are more prone to drying out at the high temperatures required to char the potatoes. If using breasts, keep them skin-on and monitor the internal temperature closely to avoid overcooking.
Vesuvio refers to Mount Vesuvius in Italy, and in Chicago culinary tradition, it represents the ‘explosive’ flavors of garlic and herbs, as well as the high-heat roasting method that creates a volcanic texture on the potatoes and chicken.
A dry, crisp white wine is best. Avoid sweet wines. Pinot Grigio, Sauvignon Blanc, or an un-oaked Chardonnay work perfectly to balance the rich butter and chicken fat.
This usually happens if the pan is overcrowded, causing the potatoes to steam. Ensure there is space between the wedges and that they are placed upright to allow hot air to circulate and create those charred edges.
The Ultimate Chicken Vesuvio Recipe
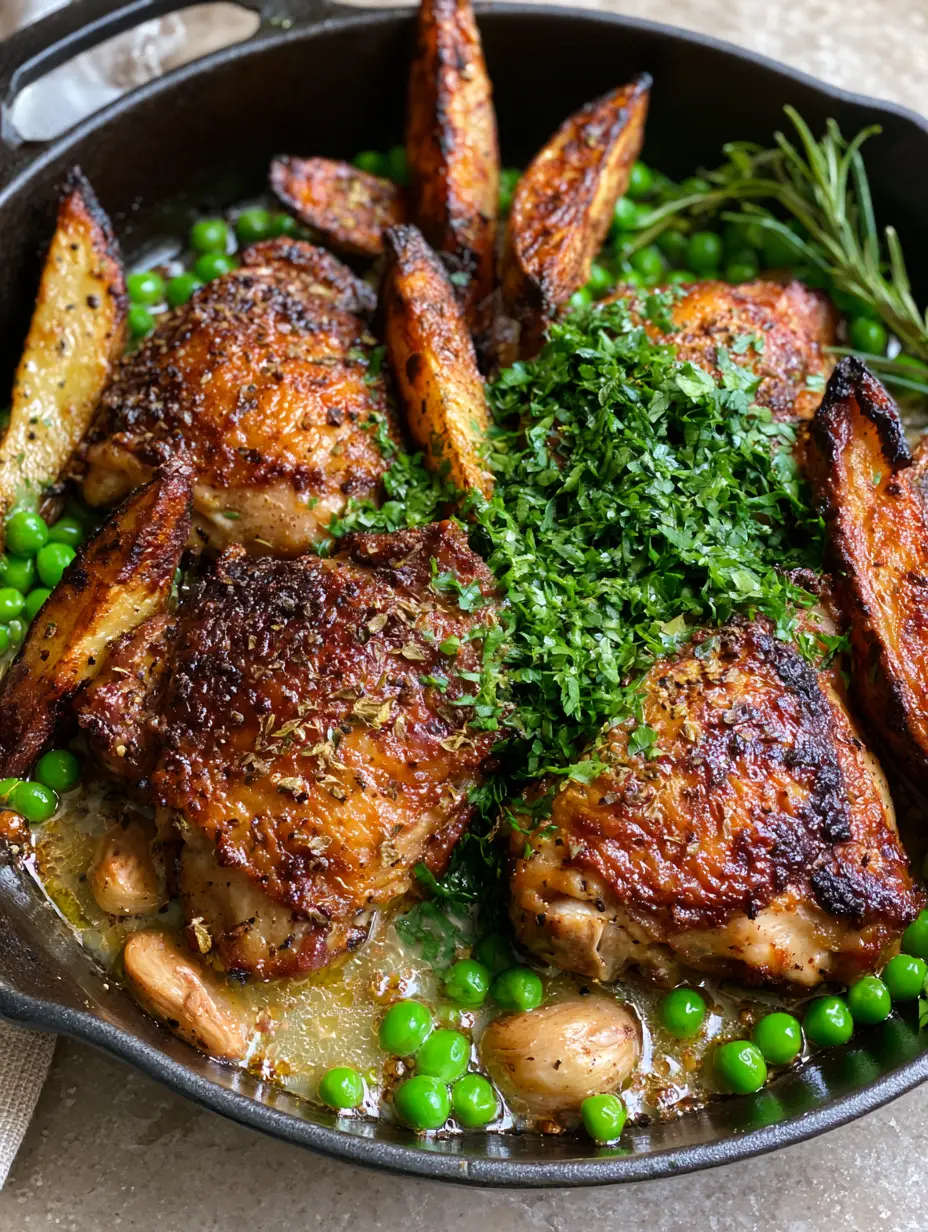
Chicken Vesuvio: The Ultimate One-Pan Chicago Classic with Crispy Skin
Ingredients
Equipment
Method
- Preheat oven to 425°F (220°C). Season dry chicken thighs with salt, pepper, and oregano.
- In a cast iron skillet with shimmering oil, sear chicken skin-side down for 6-8 minutes until dark golden-brown and blistered. Flip and sear 2 minutes, then remove.
- Add potato wedges upright into the chicken fat. Add whole garlic cloves. Sear for 5 minutes.
- Nestle chicken back in, add rosemary, and roast in the oven for 20-25 minutes until chicken is 165°F.
- Remove chicken and potatoes. Add wine to the skillet, scraping up the fond. Add stock and reduce by half.
- Whisk in cold butter one tablespoon at a time to create a glossy sauce. Stir in peas for 60 seconds.
Notes
Use a high-starch potato like Russets for the best charred edges.
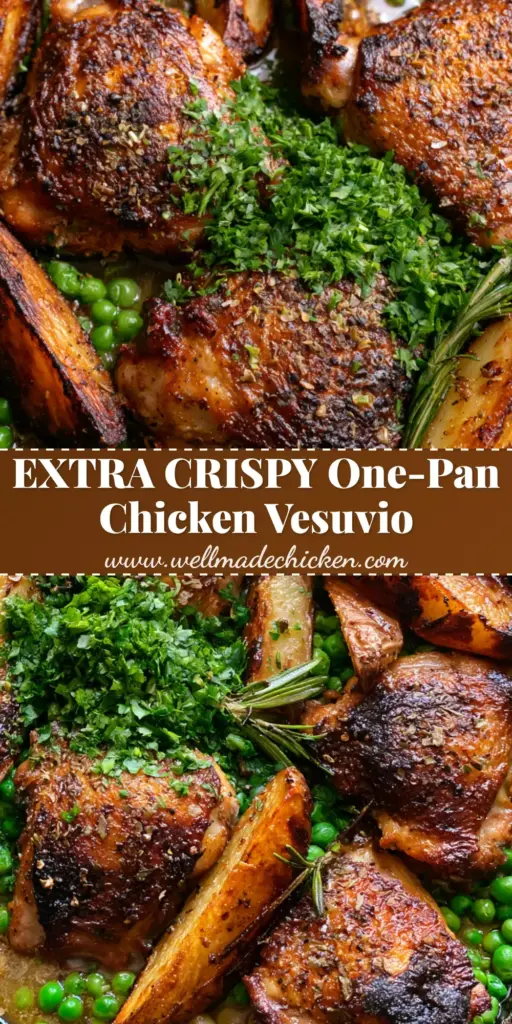
Bring the Chicago Steakhouse Home
Mastering the Chicken Vesuvio is a rite of passage for any home cook who loves bold, rustic flavors. The combination of the blistered skin, the charred potatoes, and that liquid-gold white wine sauce is a testament to the power of simple, high-quality ingredients treated with professional technique. We hope this becomes a staple in your Sunday dinner rotation!
If you enjoyed this deep dive into Chicago culinary history, please leave a comment below and share your results! Don’t forget to follow us on Pinterest for more visually-driven recipe blueprints and kitchen inspiration. Tag us in your skillet photos—we love seeing those charred edges!