There is a specific, primal joy in the perfect homemade chocolate chip cookies recipe. It is the contrast of a steaming, gooey, pale doughy center against the structural integrity of crispy, rippled caramelized edges. When you pull a massive, extra-thick cookie apart with two hands, the sight of glistening, deep mahogany pools of melted dark chocolate is enough to stop time itself.
This isn’t just another cookie; it is a culinary masterpiece designed to mimic the high-end bakery aesthetic. We are moving beyond the flat, sugary discs of childhood and into a realm of sophisticated textures, where brown sugar granules provide a subtle crunch and a light dusting of crystalline flaky sea salt balances the intense richness of premium semi-sweet chunks.
Every element of this homemade chocolate chip cookies recipe has been forensically engineered to deliver a specific visual and sensory result. From the crumpled natural parchment paper that prevents sticking to the soft, warm natural daylight hitting the crinkle-top surface, this recipe ensures your kitchen produces results that look exactly like a professional food shoot.
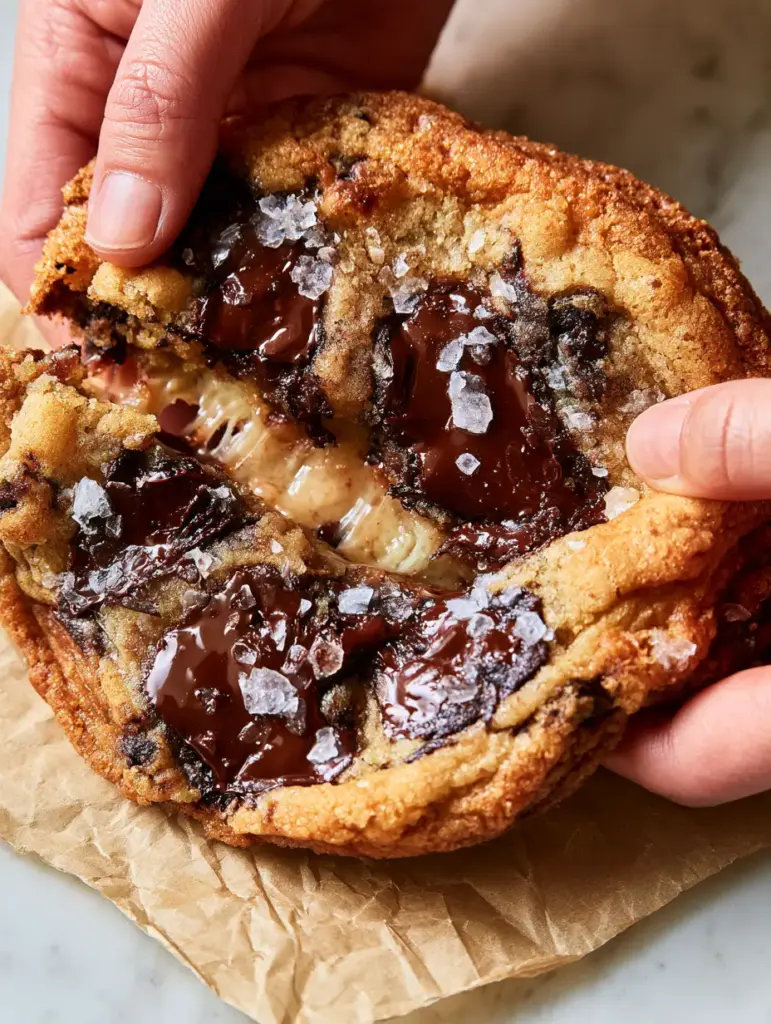
Why This Is The Only Thick and Gooey Cookie You Will Ever Need
- The Rippled Edge Architecture: Using specific temperature intervals, we create golden-brown rippled edges that offer a satisfying shatter with every bite.
- The Molten Mahogany Core: By utilizing oversized, irregular chunks of dark chocolate instead of standard chips, we achieve those iconic glistening pools.
- Underbaked Perfection: We calibrate the oven time to ensure a soft, pale, steaming center that stays doughy even after cooling.
- Salt-Forward Profile: The inclusion of large flaky sea salt crystals cuts through the butter-rich dough, elevating the semi-sweet notes of the chocolate.
Essential Components for the Perfect Butter-Rich Dough
To achieve the visual and structural results of this homemade chocolate chip cookies recipe, we must look at the science of our ingredients. Each component serves a technical purpose in creating the crinkle-top texture and the extra-thick profile.
All-Purpose Flour: 3 cups (375g). This provides the necessary protein structure to keep the cookies massive and thick rather than spreading into a puddle, much like our NYC-style thick cookies.
Cold Unsalted Butter: 1 cup (227g). Unlike softened butter, using cold, cubed butter prevents the fat from melting too quickly in the oven, which is the secret to that extra-thick, bakery-style height.
Dark Brown Sugar: 1 cup (200g). The high molasses content in dark brown sugar is responsible for the deep caramelization on the rippled edges and the moist, pale center.
Granulated Sugar: 1/2 cup (100g). This sugar aids in the Maillard reaction, helping to create the crisp, golden-brown exterior and the visible sugar granules on the surface.
Semi-Sweet Dark Chocolate Chunks: 10 oz (280g). Hand-chopping chocolate bars creates irregular sizes, leading to the “glistening mahogany pools” described in the blueprint. Standard chips contain stabilizers that prevent them from melting into these pools.
Large Eggs: 2 units. Eggs provide the leavening and moisture required for a steaming, doughy center. If you are looking for a vegan alternative, you might explore our no-butter cookie variations.
Cornstarch: 1 tsp (3g). This is the secret “invisible ingredient” that ensures the center remains soft and pale while the edges crisp up.
Baking Soda and Salt: 1 tsp (6g) each. Baking soda reacts with the acidic brown sugar to create lift, while fine sea salt inside the dough balances the sugars.
Flaky Sea Salt: 1 tbsp (15g). This is used exclusively for the garnish, providing the crystalline visual finish seen on high-end bakery treats.
Professional Equipment for Bakery Results
Achieving the “high-end bakery aesthetic” requires more than just ingredients; it requires the right tools. A heavy-duty stand mixer is essential for aerating the butter and sugars without warming them up too much.
Natural parchment paper is a non-negotiable. Crumpling the parchment paper before lining your tray—as seen in our visual blueprint—not only prevents the cookies from sliding but also aids in heat distribution for those rippled edges.
A large 4-ounce (120ml) cookie scoop is necessary to produce “massive” cookies. Smaller scoops will result in faster cook times, which will ruin the “pale underbaked center” we are striving for.
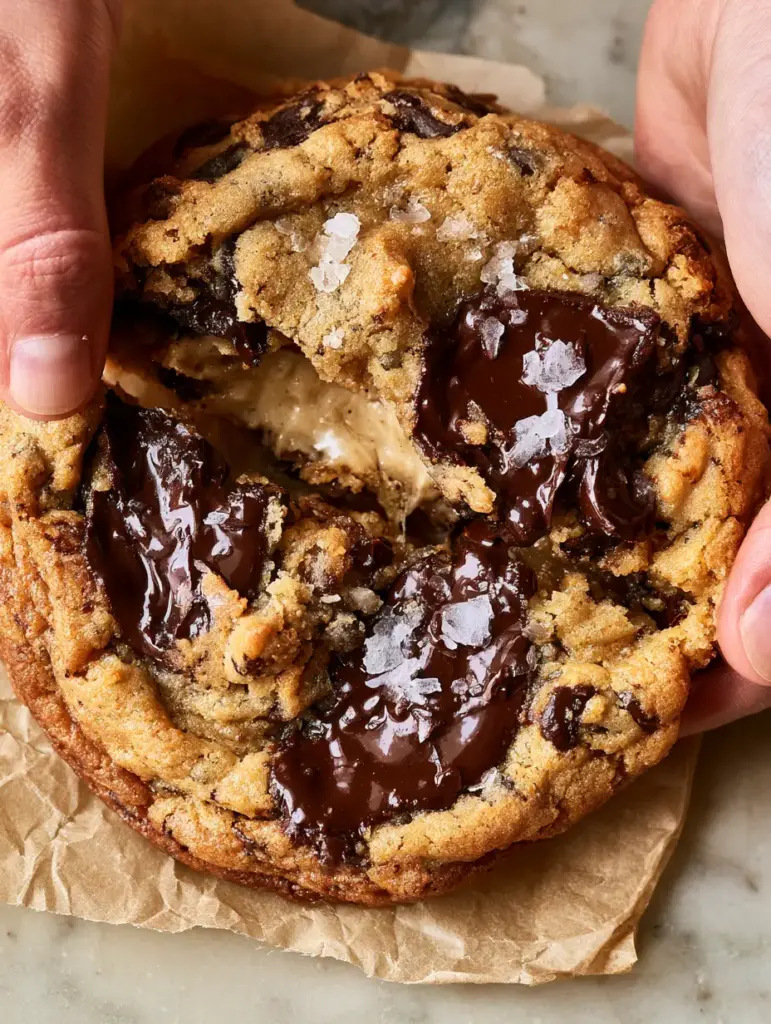
Mastering the Homemade Chocolate Chip Cookies Recipe: Step-by-Step
Phase 1: The Cold Creaming Technique
In the bowl of your stand mixer, combine the cold, cubed butter with the dark brown and granulated sugars. Beat on medium-high for 4-5 minutes until the mixture is pale and fluffy.
Even though the butter is cold, the friction of the mixer will soften it just enough to incorporate the sugar granules. You should see visible brown sugar granules remaining, which will eventually contribute to the crinkle-top texture.
Phase 2: Emulsifying the Liquids
Add the eggs one at a time, followed by a splash of vanilla extract. Mix on low until just combined. Over-mixing at this stage will introduce too much air, causing the cookies to deflate later; we want them to stay thick and dense like decadent brownie cookies.
Phase 3: The Dry Ingredient Fold
Sift the flour, cornstarch, and baking soda together. Gradually add them to the wet ingredients. Stop the mixer when a few streaks of flour remain. This prevents gluten over-development, ensuring the center stays soft rather than bread-like.
Phase 4: Incorporating the Chocolate Mahogany Pools
Fold in your hand-chopped semi-sweet dark chocolate chunks by hand. Ensure the oversized chunks are distributed evenly. These irregular pieces are what will melt into the glistening pools described in our visual blueprint.
Phase 5: The Chill and The Bake
Scoop the dough into massive mounds and place them on a tray. Refrigerate for at least 2 hours. This chill time is critical for the “rippled edge” effect; the outside of the dough will set while the inside remains cold and pale.
Preheat your oven to 410°F (210°C). This high heat is the “Culinary Forensics” secret to the visual prompt. The high temperature blasts the edges to a golden-brown caramelization while leaving the center underbaked and steaming. Bake for 10-12 minutes until the edges are rippled and the tops have a beautiful crinkle-texture.
Expert Tips for Visual and Sensory Success
- The Pan Bang: Halfway through baking, lift the cookie sheet and drop it against the oven rack. This creates the “rippled cookie edges” by collapsing the air pockets.
- The Sea Salt Finish: Apply the flaky sea salt immediately after removing the cookies from the oven. The heat from the chocolate pools will help the salt crystals adhere.
- Chunk Placement: For the best photos, press a few extra chunks of chocolate into the top of the dough balls right before baking.
- Resting Time: Let the cookies rest on the crumpled parchment for 10 minutes. This allows the internal “steaming center” to set just enough to be handheld without falling apart.
Preserving Your Bakery-Style Creations
These cookies are best enjoyed warm, when the chocolate is still in its liquid mahogany state. However, they can be stored in an airtight container at room temperature for up to 3 days. To revive the “steaming gooey center,” microwave a cookie for 10-15 seconds.
For long-term storage, freeze the raw dough balls. You can bake them straight from the freezer, adding 2 minutes to the cook time. This is a great way to have a fresh homemade chocolate chip cookies recipe ready whenever a craving hits, perhaps alongside a sweet breakfast treat.
What to Serve With These Massive Cookies
A cookie this rich requires a palate cleanser. A cold glass of milk is traditional, but these also pair beautifully with a warm cup of coffee. If you’re hosting a brunch, serve them as a dessert following a savory main like spiced chicken shawarma or a hearty birria de res. The contrast between the salty, savory meal and the sweet, salt-dusted cookie is incredible.
Frequently Asked Questions
You can, but chocolate chips contain stabilizers that prevent them from melting into glistening mahogany pools. For the high-end bakery aesthetic, hand-chopping dark chocolate bars is highly recommended.
Yes. Chilling the dough for at least 2 hours allows the fats to solidify and the flour to hydrate. This prevents the cookies from spreading too much and ensures the center remains pale and underbaked.
Rippled edges are achieved through ‘pan banging.’ Simply lift and drop the baking sheet against the oven rack halfway through the baking process to collapse the air pockets and create those iconic caramelized ridges.
Flat cookies usually result from butter that is too soft or over-mixing the dough. This recipe uses cold, cubed butter and a high baking temperature to ensure the cookies stay massive and extra-thick.
Cornstarch acts as a tenderizer. It interferes with gluten development, which helps achieve that signature soft, pale, and doughy center even while the edges become crispy and golden-brown.
The Ultimate Recipe for Thick, Rippled Chocolate Chip Cookies
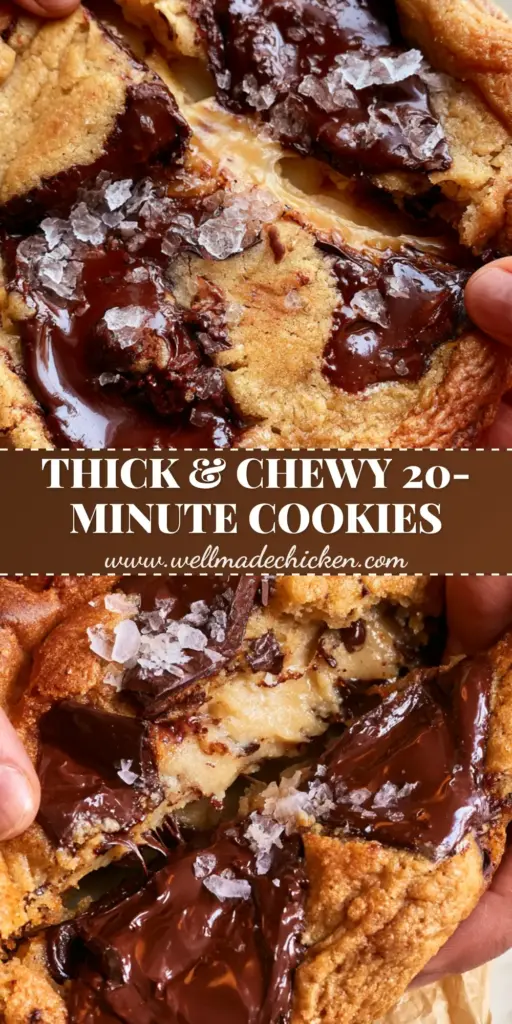
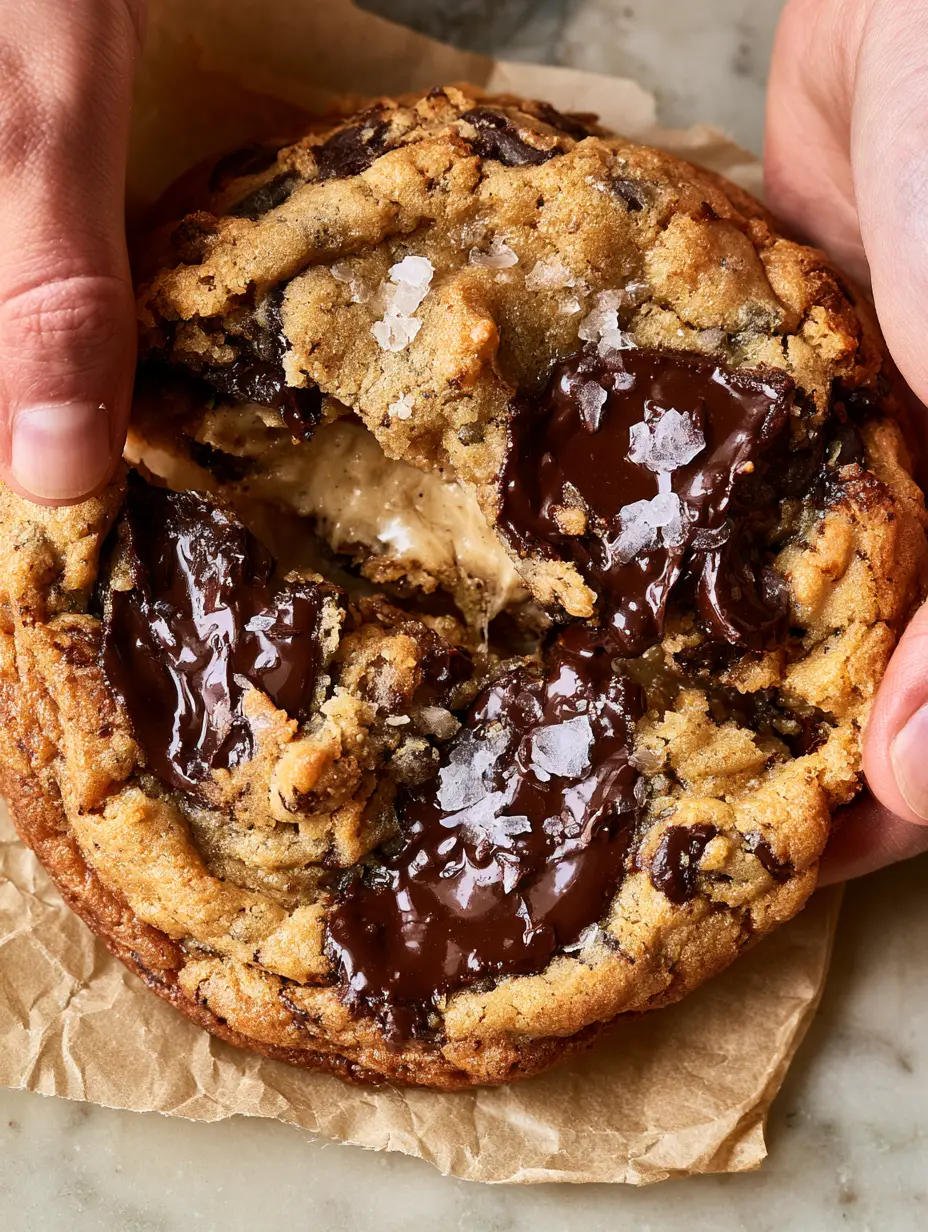
The Ultimate Bakery-Style Homemade Chocolate Chip Cookies Recipe
Ingredients
Equipment
Method
- Cream cold cubed butter and both sugars in a stand mixer for 4-5 minutes until light and fluffy with visible sugar granules.
- Add eggs one at a time, mixing on low speed until just incorporated to maintain the dough's density.
- Fold in flour, cornstarch, baking soda, and fine salt until a few streaks remain. Do not overmix.
- Hand-fold the oversized chocolate chunks into the dough to ensure even distribution for future chocolate pools.
- Scoop 4-ounce balls onto a tray and refrigerate for at least 2 hours to ensure thickness and edge ripples.
- Bake at 410°F (210°C) on crumpled parchment paper for 10-12 minutes. Perform a 'pan bang' halfway through to create rippled edges.
- Remove when edges are golden-brown but centers are pale. Immediately dust with flaky sea salt while chocolate is molten.
Notes
Use cold butter for maximum cookie height.
Hand-chopped chocolate creates better pools than chips.
Closing & Call to Action
Mastering this homemade chocolate chip cookies recipe is a rite of passage for any serious home cook. The combination of the extra-thick dough, the rippled golden edges, and those glistening mahogany chocolate pools creates a sensory experience that is truly unmatched. Whether you are baking for a special occasion or just a rainy Tuesday, these cookies are guaranteed to impress.
If you enjoyed this recipe, please leave a comment below and let us know how your mahogany pools turned out! Don’t forget to follow us and share your bakes on Pinterest to show off your crinkle-top masterpieces.