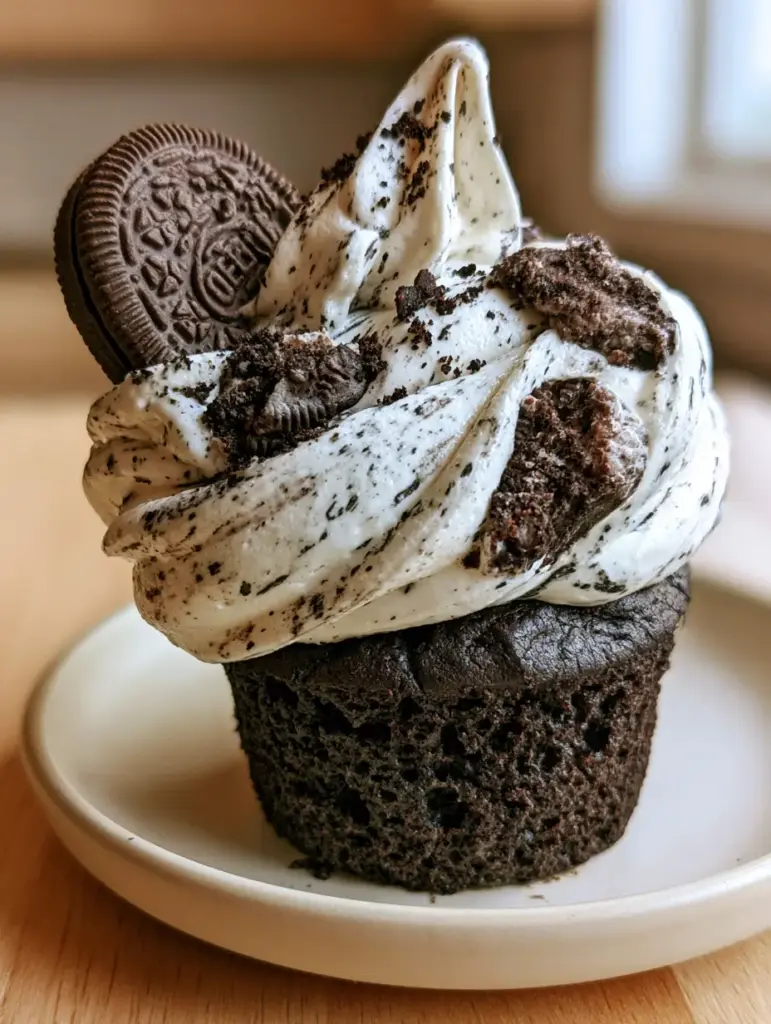
There is something undeniably nostalgic and sophisticated about the perfect Cookies & Cream Cupcakes. This isn’t just another boxed mix clone; this is a culinary tribute to the classic sandwich cookie, featuring a dark, porous chocolate crumb and a mountain of speckled frosting.
When you bite into these, you immediately notice the contrast between the tender, ultra-moist cake and the crunch of real Oreo pieces. We have designed this recipe to mirror the decadent, macro-photography aesthetic of a professional bakery, complete with a massive, sculptural swirl of buttercream.
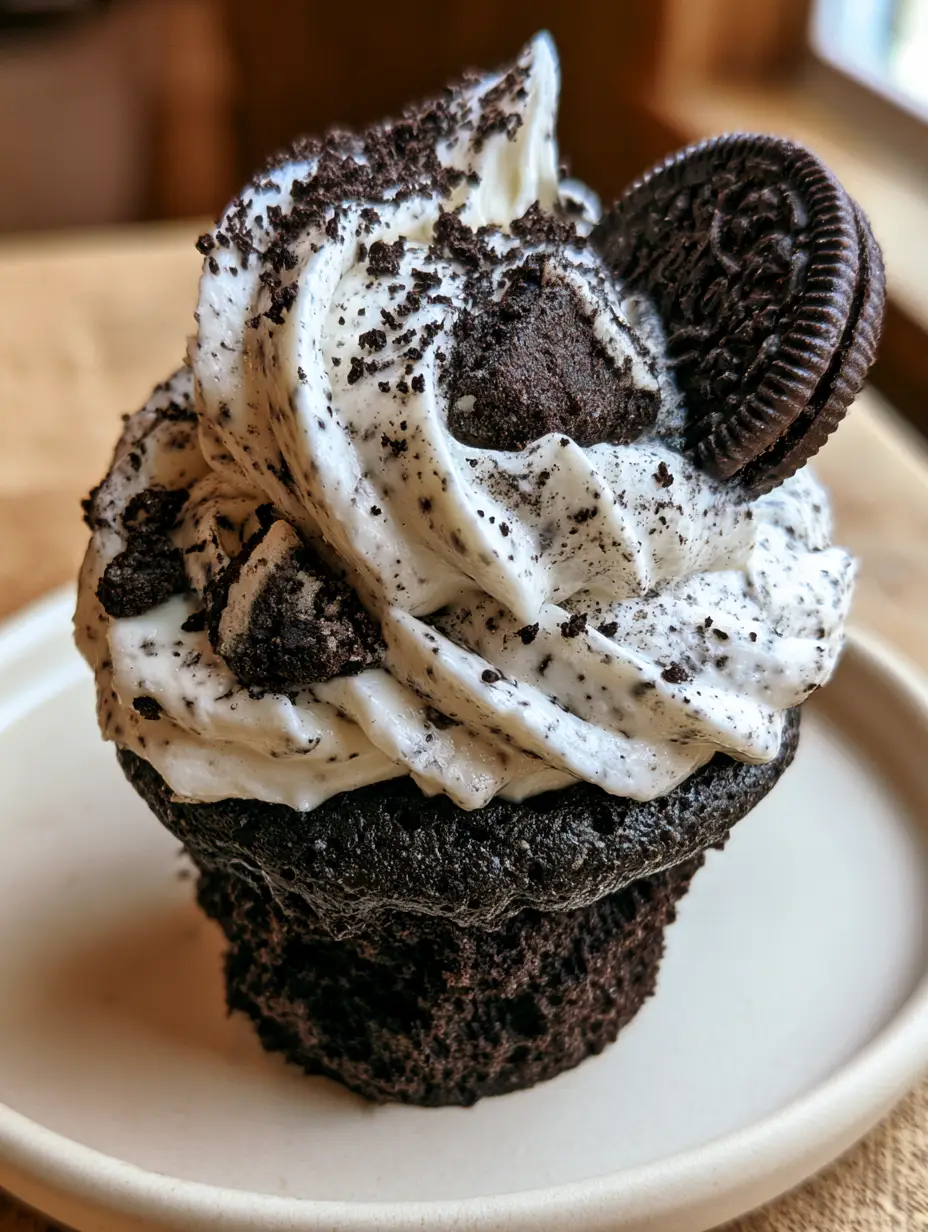
Whether you are hosting a birthday party or just satisfying a deep chocolate craving, these cupcakes stand out on any matte white ceramic plate. They look as good as they taste, bridging the gap between home-baked comfort and high-end pastry art.
Why You Will Love This Ultimate Oreo-Inspired Dessert
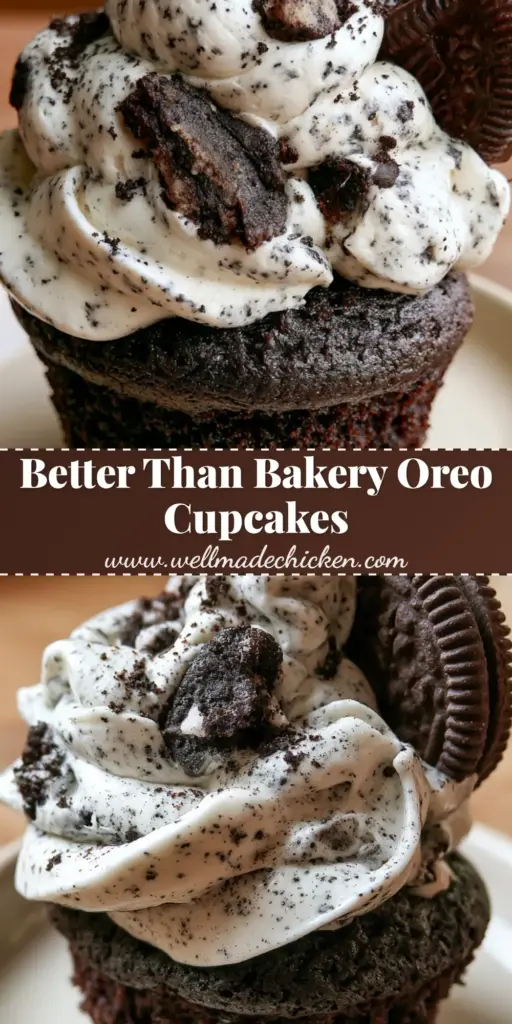
- Visual Masterpiece: Every cupcake features a massive, sculptural swirl of thick buttercream heavily speckled with fine black cookie dust.
- Superior Texture: The base is a dark, porous chocolate cake with a visible tender crumb that stays moist for days.
- Triple Cookie Threat: We incorporate crushed Oreo chunks in the frosting, fine dust for garnish, and a whole mini Oreo tucked at a 45-degree angle.
- Professional Results: Using Dutch-processed cocoa ensures that deep, nearly black color seen in professional bakery displays.
The Secret Ingredients for a Moist Dark Chocolate Cake Base
Dutch-Process Cocoa Powder: 3/4 cup (75g). This is essential for achieving the ultra-dark, porous appearance and a smooth, mellow chocolate flavor that mimics the cookie wafer.
All-Purpose Flour: 1 ½ cups (190g). Provides the structural foundation for the cupcake while maintaining a soft, tender crumb.
Granulated Sugar: 1 ½ cups (300g). Aside from sweetness, sugar breaks up the gluten molecules to ensure the cake remains soft and easy to bite through.
Vegetable Oil: 1/3 cup (80ml). Unlike butter, oil stays liquid at room temperature, ensuring your chocolate base remains moist even if refrigerated.
Large Eggs: 2 units. Use room-temperature eggs to ensure they emulsify properly with the fat, creating a stable rise in the oven.
Boiling Water: 3/4 cup (180ml). Adding boiling water “blooms” the cocoa powder, intensifying the chocolate flavor and creating that characteristic porous texture.
Whole Milk: 3/4 cup (180ml). The fat content in whole milk adds richness and helps tenderize the crumb of the dark chocolate base.
Baking Powder and Soda: 1 tsp (5g) each. These leavening agents react with the acidic cocoa to create air bubbles for a light, airy lift.
Components for the Thick Speckled Vanilla Buttercream Frosting
Unsalted Butter: 1 ½ cups (340g). Ensure the butter is slightly cool to the touch but pliable to achieve a thick, sculptural swirl that holds its shape.
Powdered Sugar: 4 cups (500g). Sift this thoroughly to avoid lumps in your massive frosting swirls; it provides the volume needed for high piping.
Heavy Cream: 3 tbsp (45ml). This thins the frosting just enough to make it pipeable while keeping it dense enough to support the cookie garnishes.
Oreo Cookies: 12 standard units. You will pulse these into two textures: a fine dust for the frosting base and larger crunchy chunks for the interior swirl.
Mini Oreo Cookies: 12 units. These are the crowning jewel, placed at a 45-degree angle to complete the professional aesthetic.
Essential Equipment for Professional Cupcake Decorating
To achieve the bakery-style look, you will need a standard 12-cup muffin tin lined with dark liners. A large open star piping tip (like a Wilton 1M or 2D) is critical for creating the sculptural, high-piled swirl described in our visual blueprint. You will also need a food processor to create the varied textures of cookie dust and crumbs.
How to Bake the Perfect Dark Porous Chocolate Base
Prepping the Batter for Maximum Moisture
Preheat your oven to 350°F (175°C) and line your tin. In a large bowl, whisk together the flour, sugar, Dutch-process cocoa, baking powder, baking soda, and a pinch of salt. In a separate bowl, whisk the eggs, milk, oil, and vanilla until smooth.
Combine the wet and dry ingredients, stirring just until no large flour streaks remain. Slowly pour in the boiling water, whisking gently by hand. The batter will be very thin and liquid, which is exactly what you want for a porous, tender crumb.
Baking for the Ideal Tender Crumb
Fill the cupcake liners only 2/3 full to prevent overflowing and ensure a flat top for the frosting. Bake for 18–22 minutes. You are looking for a sensory cue: the tops should spring back lightly when touched, and a toothpick should come out with a few moist crumbs attached.
Allow the cupcakes to cool completely in the tin for 10 minutes before moving them to a wire rack. Frosting a warm cupcake will cause your sculptural swirl to melt and collapse.
Engineering the Sculptural Cookies & Cream Frosting
Achieving the Thick Speckled Texture
Beat the butter on medium-high speed for at least 5 minutes until it is pale and fluffy. Gradually add the powdered sugar one cup at a time, followed by the heavy cream and vanilla bean paste. The frosting should be thick enough to hold a stiff peak.
Fold in the fine black cookie dust until the frosting is evenly speckled. If you want even more texture, fold in the large crunchy Oreo chunks last, ensuring they are small enough to pass through your piping tip or simply pressed into the swirl later.
The Art of the High-Piled Swirl
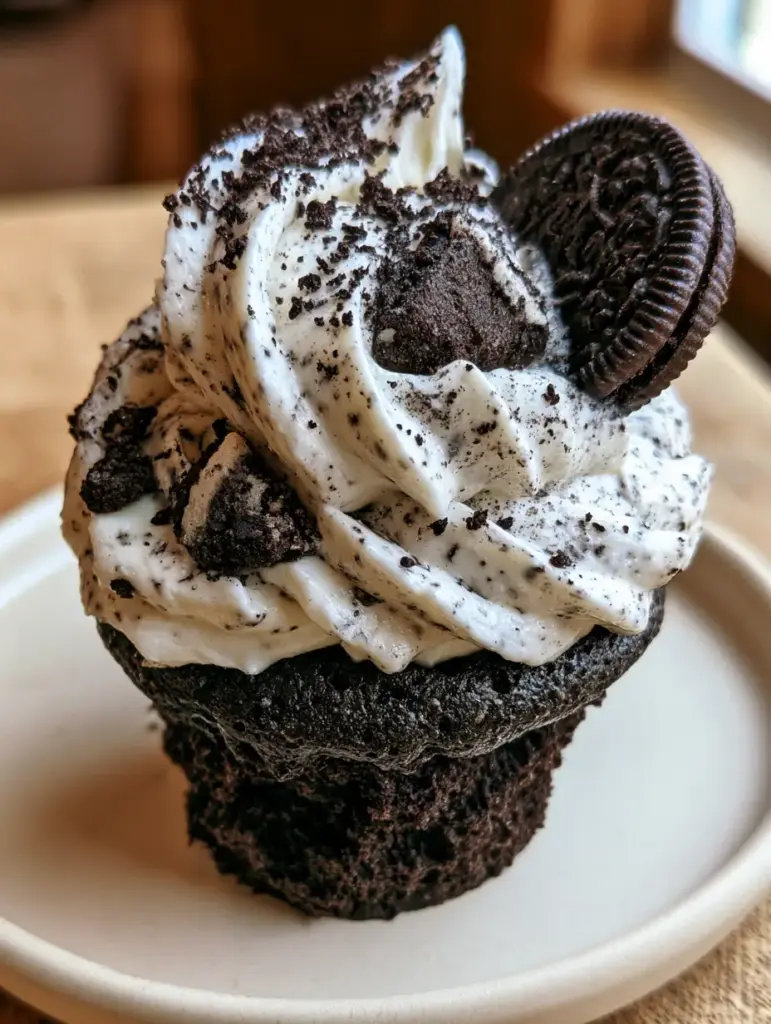
Fit your piping bag with a large star tip. Start in the center of the cupcake, move to the edge, and spiral upward in three full rotations to create a massive, sculptural swirl. This height is what creates the “decadent” look requested in the visual blueprint.
Immediately tuck one whole mini Oreo into the side of the frosting at a 45-degree angle. Finish by garnishing with a light sprinkle of fine dark cocoa crumbs or extra cookie dust for that authentic handheld smartphone photo aesthetic.
Expert Tips for Bakery-Style Cookies & Cream Cupcakes
- Room Temperature Matters: Ensure your milk and eggs are not cold. This creates a smoother emulsion, leading to a more uniform porous structure in the cake.
- Don’t Overmix: Once you add the boiling water, whisk only until combined. Overmixing develops gluten, which will turn your tender crumb tough.
- Sift Your Cocoa: Dutch-process cocoa is notorious for clumping. Sifting it with the flour ensures you don’t have bitter pockets of dry cocoa in your cake.
- Stabilize the Swirl: If your kitchen is warm, chill your frosting for 10 minutes before piping to ensure the sculptural ridges remain sharp and defined.
Storing and Make-Ahead Instructions
These cupcakes can be stored in an airtight container at room temperature for up to 2 days. Because the oil-based cake stays moist, they also hold up well in the refrigerator for up to 5 days; just let them sit at room temperature for 20 minutes before serving to soften the buttercream.
For long-term storage, you can freeze the unfrosted chocolate bases for up to 3 months. Thaw them overnight in the fridge and frost them fresh for the best texture and visual appeal.
What to Serve with Decadent Chocolate Cupcakes
These cupcakes are incredibly rich, so they pair beautifully with a cold glass of milk or a sharp espresso. If you are hosting a dessert party, consider serving them alongside NYC cookies or even brownie cookies for a full cookie-themed spread.
If you prefer a mix of textures, these pair surprisingly well with a fruit-based treat like a chocolate cream cheese danish to balance the deep cocoa notes. For those who love classic recipes, serving these alongside homemade chocolate chip cookies provides a wonderful variety of chocolate experiences.
Frequently Asked Questions
You can, but the cupcakes will be lighter in color and have a more acidic, sharp chocolate taste. Dutch-process is required for that deep, nearly black ‘Oreo’ look and mellow flavor.
The key is using slightly cool butter and beating it for a long time before adding sugar. Avoid adding too much liquid; the heavy cream should be added only a tablespoon at a time.
Dryness often comes from overbaking or using too much flour. Ensure you measure your flour by weight and use vegetable oil, which keeps the crumb moist even after cooling.
Yes, if they are too large. Ensure you pulse the cookies into a fine dust for the frosting that goes through the tip, or use a very large open star tip to accommodate small crunchy pieces.
The Ultimate Cookies & Cream Cupcakes Recipe
Cookies & Cream Cupcakes with Sculptural Vanilla Buttercream
Ingredients
Equipment
Method
- Whisk flour, sugar, sifted cocoa, baking powder, and soda in a large bowl.
- Mix in milk, oil, and eggs until smooth, then gently stir in boiling water to bloom the cocoa.
- Fill liners 2/3 full and bake at 350°F (175°C) for 18-22 minutes until a toothpick comes out with moist crumbs.
- Beat butter until pale, then add powdered sugar, cream, and fine cookie dust until thick and sculptural.
- Pipe a high, 3-tier spiral swirl onto each cooled cupcake using a star tip.
- Tuck a mini Oreo at a 45-degree angle into the frosting and sprinkle with extra cookie crumbs.
Notes
Ensure cupcakes are completely cool before piping to maintain the sculptural frosting shape.
Final Thoughts on This Decadent Dessert
These Cookies & Cream Cupcakes are the perfect marriage of deep dark chocolate and creamy vanilla. The visual contrast of the white frosting against the dark cake, plated on a matte white ceramic plate, makes them a showstopper for any occasion. They are designed for those who appreciate the finer details of baking, from the porous crumb to the perfectly angled mini Oreo garnish.
If you enjoyed this recipe, please leave a comment below and let us know how your sculptural swirls turned out! Don’t forget to share your creations and follow us on Pinterest for more decadent baking inspiration.