Crispy cottage cheese chips are the viral sensation taking the low-carb world by storm, and for good reason. Imagine a snack that boasts the satisfying crunch of a potato chip but is powered by the protein-dense profile of cultured dairy. These chips are not just a snack; they are a culinary transformation that turns a humble tub of curds into paper-thin, golden-brown shards of savory perfection.
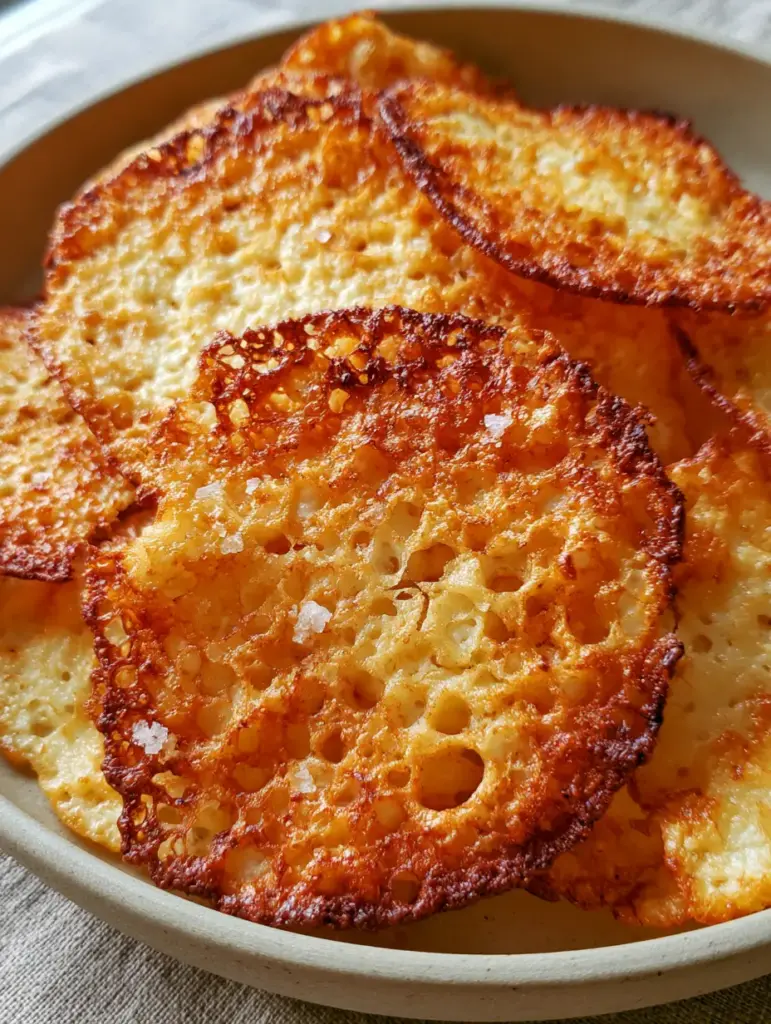
When you pull these from the oven, you’ll notice an intricate, lacy, web-like texture that looks almost too delicate to handle. However, once they cool, they develop a brittle, snap-ready consistency that holds up to the boldest dips. The deeply caramelized amber edges provide a toasted, nutty flavor that contrasts beautifully with the clean saltiness of the sea salt flakes.
This recipe focuses on the science of evaporation and caramelization. By spreading the cottage cheese to an ultra-thin layer, we allow the moisture to escape rapidly, leaving behind a concentrated lattice of milk proteins and fats. The result is a mound of ultra-thin, golden-brown cottage cheese chips that look stunning in a minimalist matte stoneware bowl.
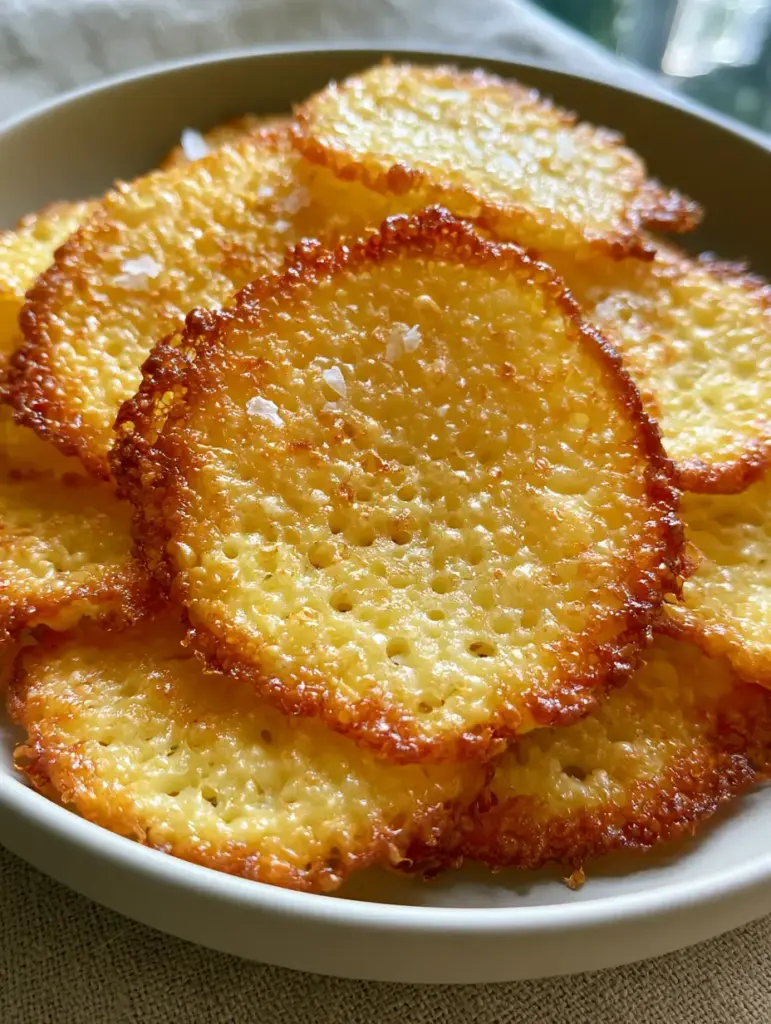
Why You’ll Crave These High-Protein Lacy Crackers
- Unbelievable Texture: Hundreds of tiny air bubbles create a brittle, shattered-glass crunch that rivals any store-bought tortilla chip.
- Deep Flavor Profile: The Maillard reaction transforms simple dairy into a complex snack with deeply caramelized amber edges and a savory, umami-rich finish.
- Visual Sophistication: Garnished with coarse Maldon sea salt and cracked black pepper, these look like artisanal crackers from a high-end bistro.
- Macro-Friendly Bliss: This is a rare snack that allows you to hit your protein goals while satisfying a late-night craving for something salty and brittle.
The Anatomy of a Perfect Crispy Cottage Cheese Chip
Full-Fat Small Curd Cottage Cheese (225g / 1 cup): The foundation of the recipe. We use full-fat (4%) cottage cheese because the milk fats are essential for achieving that golden-brown caramelization and preventing the chips from becoming overly chalky.
Coarse Sea Salt Flakes (1 tsp / 5g): Specifically Maldon salt, which provides those visible white flakes that catch the light. These flakes offer a concentrated burst of salinity without dissolving into the chip during the baking process.
Freshly Cracked Black Pepper (1/2 tsp / 2g): The heat from the pepper cuts through the richness of the toasted dairy. The visible black specks add a rustic, “forensic” detail to the lacy web of the chip.
Non-Stick Olive Oil Spray (Optional): A light misting on your silicone mat ensures that even the thinnest, microscopic edges of the chips release perfectly without snapping prematurely.
Essential Equipment for achieving the Perfect Crunch
To achieve the paper-thin crispy texture seen in professional food photography, your choice of equipment is non-negotiable. You will need a high-quality rimmed baking sheet that distributes heat evenly to avoid hot spots that might burn the delicate amber edges.
A silicone baking mat (Silpat) is the most critical tool here. Unlike parchment paper, which can wrinkle and cause the cottage cheese to pool, a silicone mat provides a perfectly flat, non-stick surface. This allows the cottage cheese to spread into that characteristic lacy, web-like texture as the water evaporates.
Lastly, an offset spatula is your best friend. This tool allows you to spread the cottage cheese curds with precision, ensuring there are no thick patches that remain chewy while the rest of the batch becomes brittle.
Mastering the Spread: Step-by-Step Instructions
Phase 1: Preparing the Base
Preheat your oven to 350°F (175°C). While the oven reaches temperature, take your 1 cup (225g) of cottage cheese and place it in a fine-mesh strainer for about 5 minutes. This step is a “pro-tip” to remove excess liquid whey, which speeds up the crisping process and ensures the chips don’t steam in their own juices.
Phase 2: Creating the Lacy Lattice
Line your baking sheet with the silicone mat. Spoon small mounds of the strained cottage cheese onto the mat, leaving at least 3 inches (7.5cm) of space between them. Using the back of a spoon or an offset spatula, press the curds down until they are almost translucent. You want to see the color of the mat through the cottage cheese.
Phase 3: The Seasoning Ritual
Sprinkle the coarse sea salt flakes and cracked black pepper evenly over the spread curds. Look for the visual cue of the salt sitting on top of the moist curds; this ensures the seasoning is embedded into the chip as it dehydrates. If you are looking for more variety, you might consider how these flavors pair with a fresh cucumber salad on the side.
Phase 4: The Precision Bake
Slide the tray into the center rack of the oven. Bake for 25 to 30 minutes, but start hovering around the oven at the 20-minute mark. You are looking for a specific sensory cue: the edges must be a deep amber brown, and the center should feature hundreds of tiny air bubbles that have turned a light golden tan. If the center still looks white or opaque, it needs more time.
Phase 5: The Cooling Snap
This is the most difficult part: patience. Remove the tray from the oven and let the chips sit for at least 10 minutes. As they cool, the proteins solidify, creating that brittle texture where microscopic cracks appear. Once cooled, gently lift them from the mat; they should snap with an audible “crack.”
Expert Tips for the Ultimate High-Protein Snack
- The Fat Content Matters: Do not use fat-free cottage cheese. The lack of lipids will result in a chip that sticks to the mat and tastes like dried paper rather than a caramelized delight.
- Even Spreading: If your chips are browning on the edges but soggy in the middle, your spread was likely uneven. Focus on making the center of the mound as thin as the perimeter.
- Blotting for Brilliance: If you see beads of oil forming on top during the bake, gently blot them with a paper towel. This helps the chips stay “matte” and brittle rather than greasy.
- Avoid Overcrowding: If the chips touch, they won’t develop those beautiful lacy edges. They need airflow to dehydrate properly.
Preserving the Crunch: Storage and Reheating
These crispy cottage cheese chips are best enjoyed immediately to experience the maximum “three-dimensional crunch.” However, if you have leftovers, store them in an airtight glass container at room temperature for up to 2 days. Avoid the refrigerator, as the humidity will immediately turn your brittle chips back into chewy cheese.
If they do lose their snap, you can “revive” them by placing them back in a 300°F (150°C) oven for 3-5 minutes. This will drive off any absorbed moisture and restore the caramelized amber edges to their former glory.
What to Serve With Your Lacy Cheese Chips
These chips are incredibly versatile. Their savory, nutty profile makes them an excellent companion for high-protein meals. Try served them alongside perfectly baked salmon for a textural contrast that elevates a simple dinner.
For a lighter lunch, they provide the necessary “crunch factor” for a hearty chickpea and spinach salad. If you are hosting a party, serve a bowl of these next to some cottage cheese tots for a themed high-protein appetizer spread that will have your guests asking for the recipe.
Frequently Asked Questions
Yes! These chips are primarily protein and fat with minimal carbohydrates, making them an excellent high-protein snack for keto and low-carb lifestyles.
While possible, it is not recommended. Low-fat versions lack the milk fats needed for proper caramelization and structural integrity, often resulting in chips that are chewy or stick to the mat.
A silicone mat is highly recommended. Parchment paper can wrinkle under the moisture of the cheese, causing the chips to pool and cook unevenly, whereas a mat stays perfectly flat.
The ‘lace’ comes from the water evaporating and leaving the protein structure behind. Spreading the curds very thin so you can see the mat through them is the key to creating those hundreds of tiny air bubbles.
This usually happens if the cottage cheese was spread too thick in the center or if there was too much moisture. Ensure you strain the cottage cheese first and use an offset spatula to achieve a translucent, paper-thin layer.
The Definitive Crispy Cottage Cheese Chips Recipe
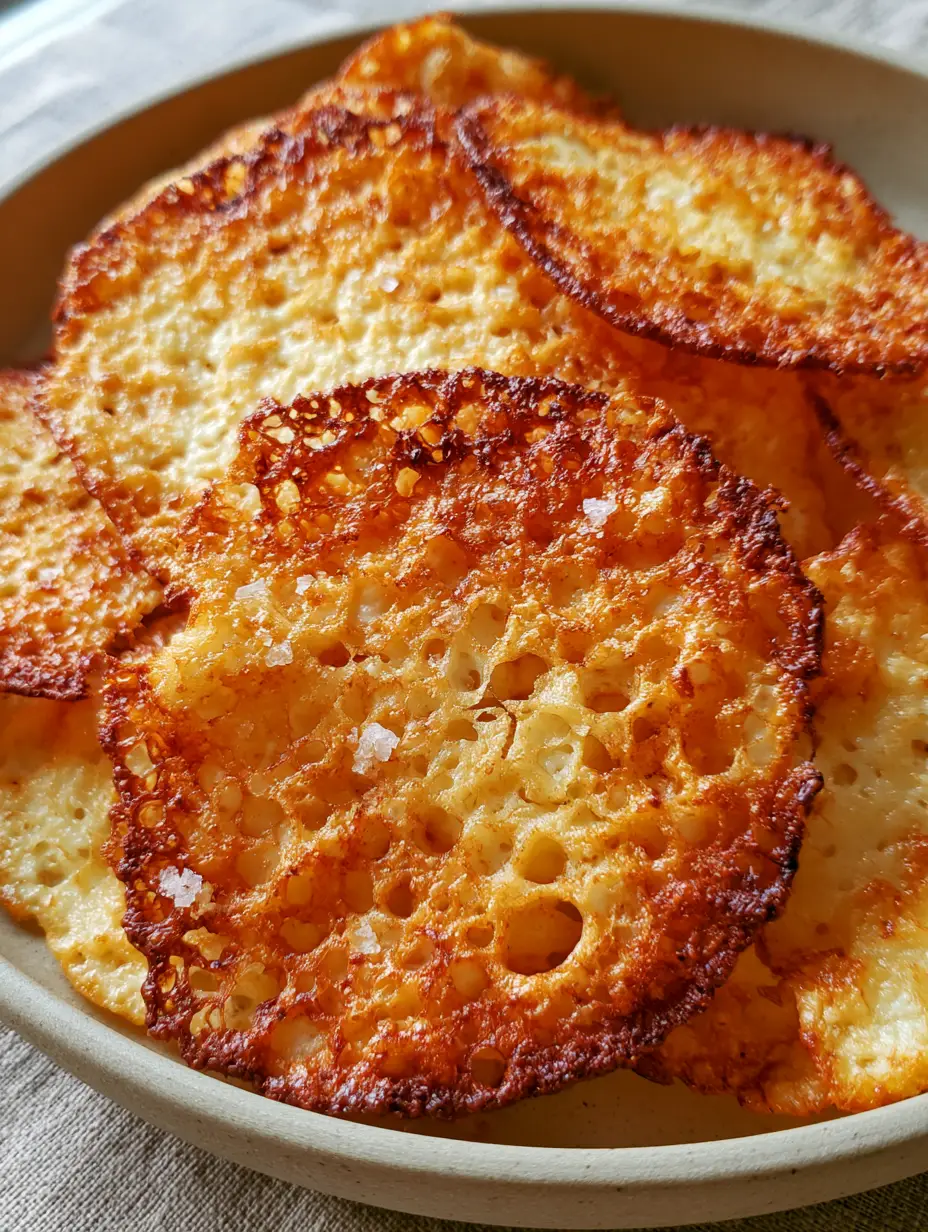
Crispy Cottage Cheese Chips: The Ultimate High-Protein Lacy Snack
Ingredients
Equipment
Method
- Preheat oven to 350°F (175°C). Strain 1 cup (225g) cottage cheese in a mesh sieve for 5 minutes to remove excess whey.
- Place small mounds of cottage cheese onto a silicone-lined baking sheet. Use an offset spatula to spread them into paper-thin circles until translucent.
- Sprinkle with sea salt flakes and cracked pepper. Bake for 25-30 minutes until edges are deeply caramelized amber and centers are golden with tiny air bubbles.
- Let chips cool completely on the baking sheet for 10 minutes to reach maximum brittleness and snap.
Notes
Ensure the spread is ultra-thin to avoid a chewy center.
Join the High-Protein Revolution
Transforming cottage cheese into these ultra-thin, golden-brown chips is a game-changer for anyone looking to eat cleaner without sacrificing the joy of a crunchy snack. The lacy texture and caramelized flavor are proof that simple ingredients, when treated with the right culinary technique, can become something extraordinary.
If you enjoyed this recipe, please leave a comment below and let us know how your chips turned out! Don’t forget to share your lacy creations on Pinterest and tag us. For more high-protein inspiration, check out our full guide to protein-packed meals.